Save 75% on membership.


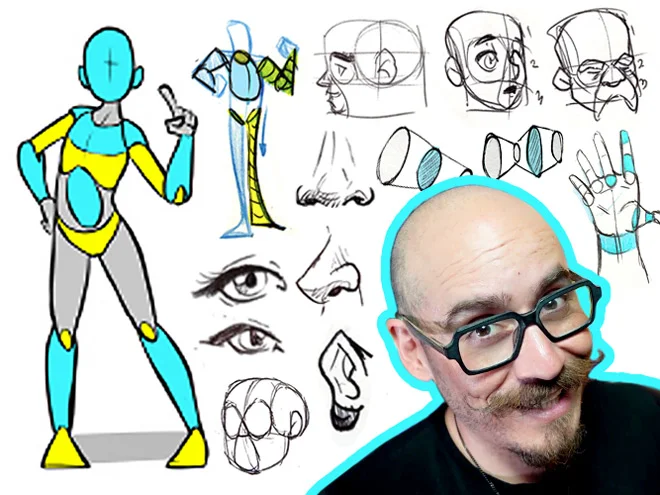
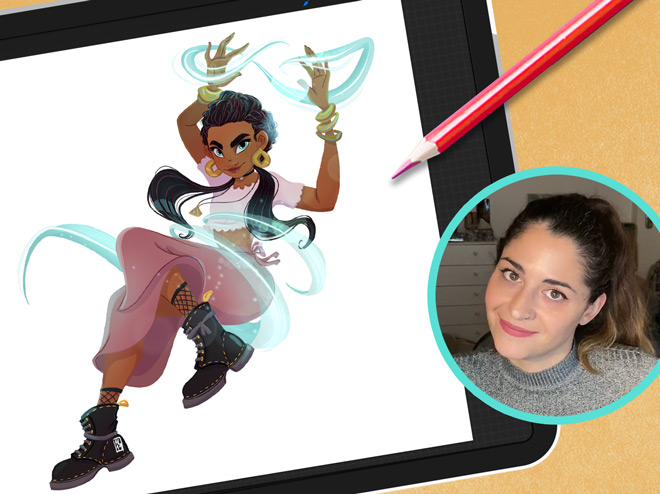
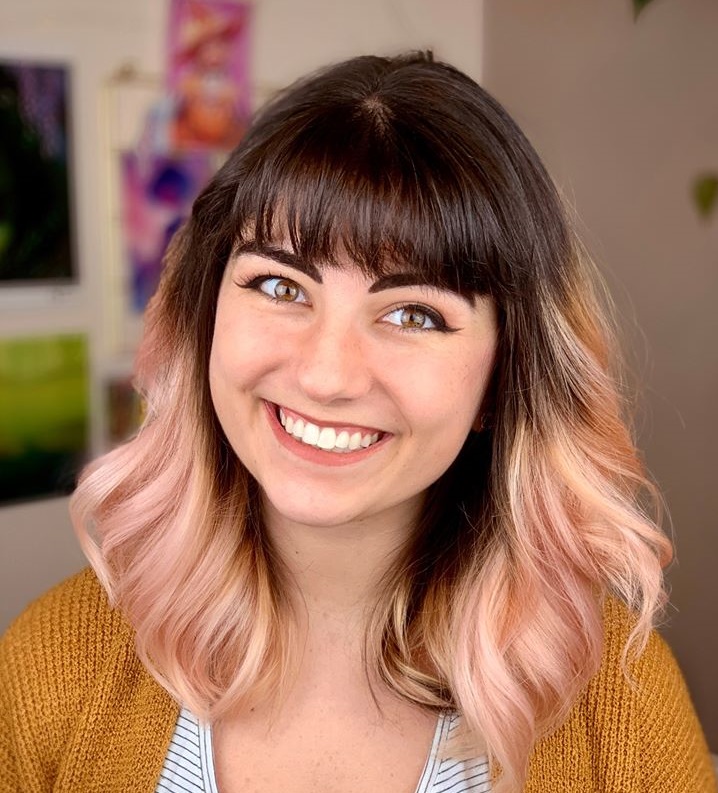
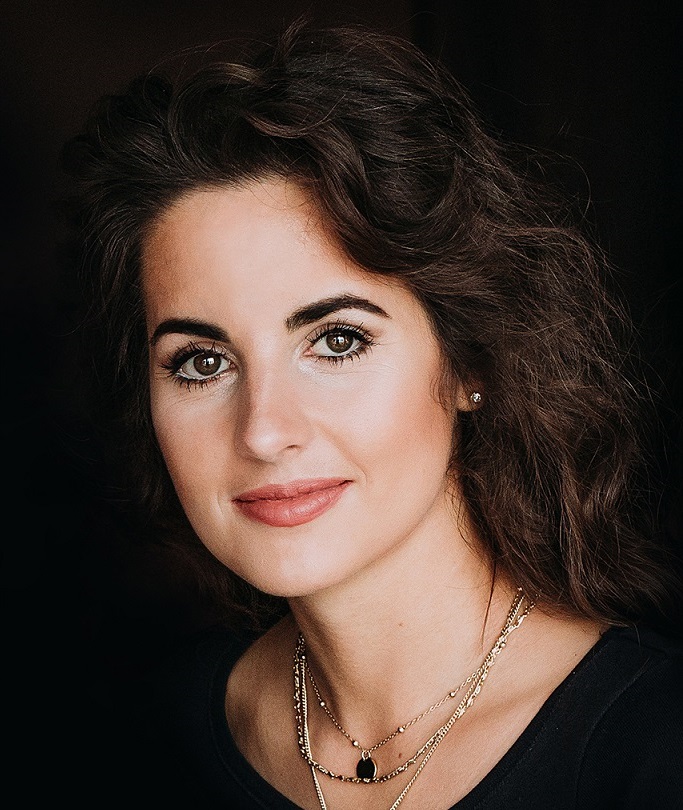
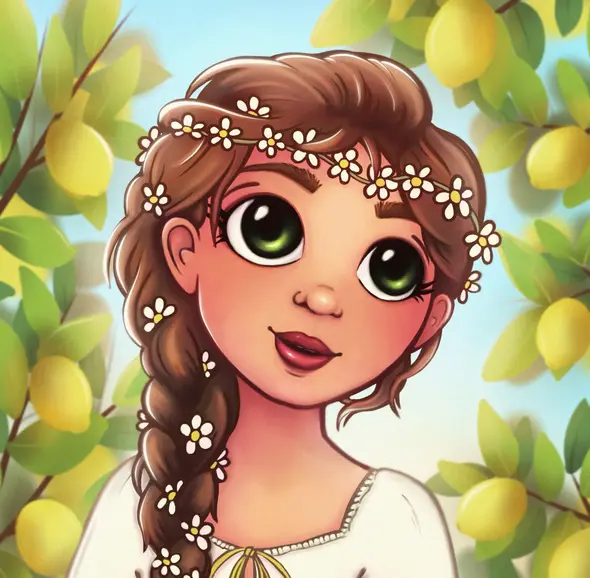
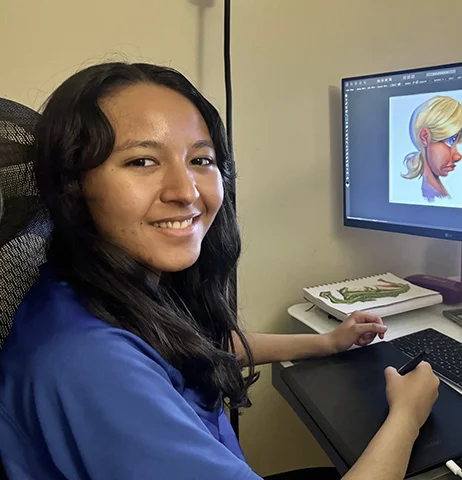
Aveline is not just an amazing comic book artist designing characters that feel real – she’s also a fantastic teacher. And a very curious one too!
She’s explored everything from drawing to pottery, always looking to try something new and make art that hits you right in the feels.
She currently works as a freelance concept artist/character designer for various clients in the field of publishing, animation, and video games.
Her clients include Simon and Schuster and Skydance Media, HarperCollins Publisher, DreamWorks Animation…
From an early age, she showed a particular interest in drawing—a natural fit, as she is highly curious and observant, but also quite sensitive. She marvels at the beauty held within the simplest of things.
Fascinated by character design and creating universes, she developed a unique dimension to her creations by studying 3D Animation at the Haute Ecole Albert Jacquard in Belgium, where she graduated in 2011.
When she’s not drawing, Aveline likes to express herself musically, by singing and playing the guitar, piano and the ukulele.
I am always trying to evolve and discover new things and challenges. My goal is to create beautiful images and atmospheres that release many different emotions.
 See artist portfolio

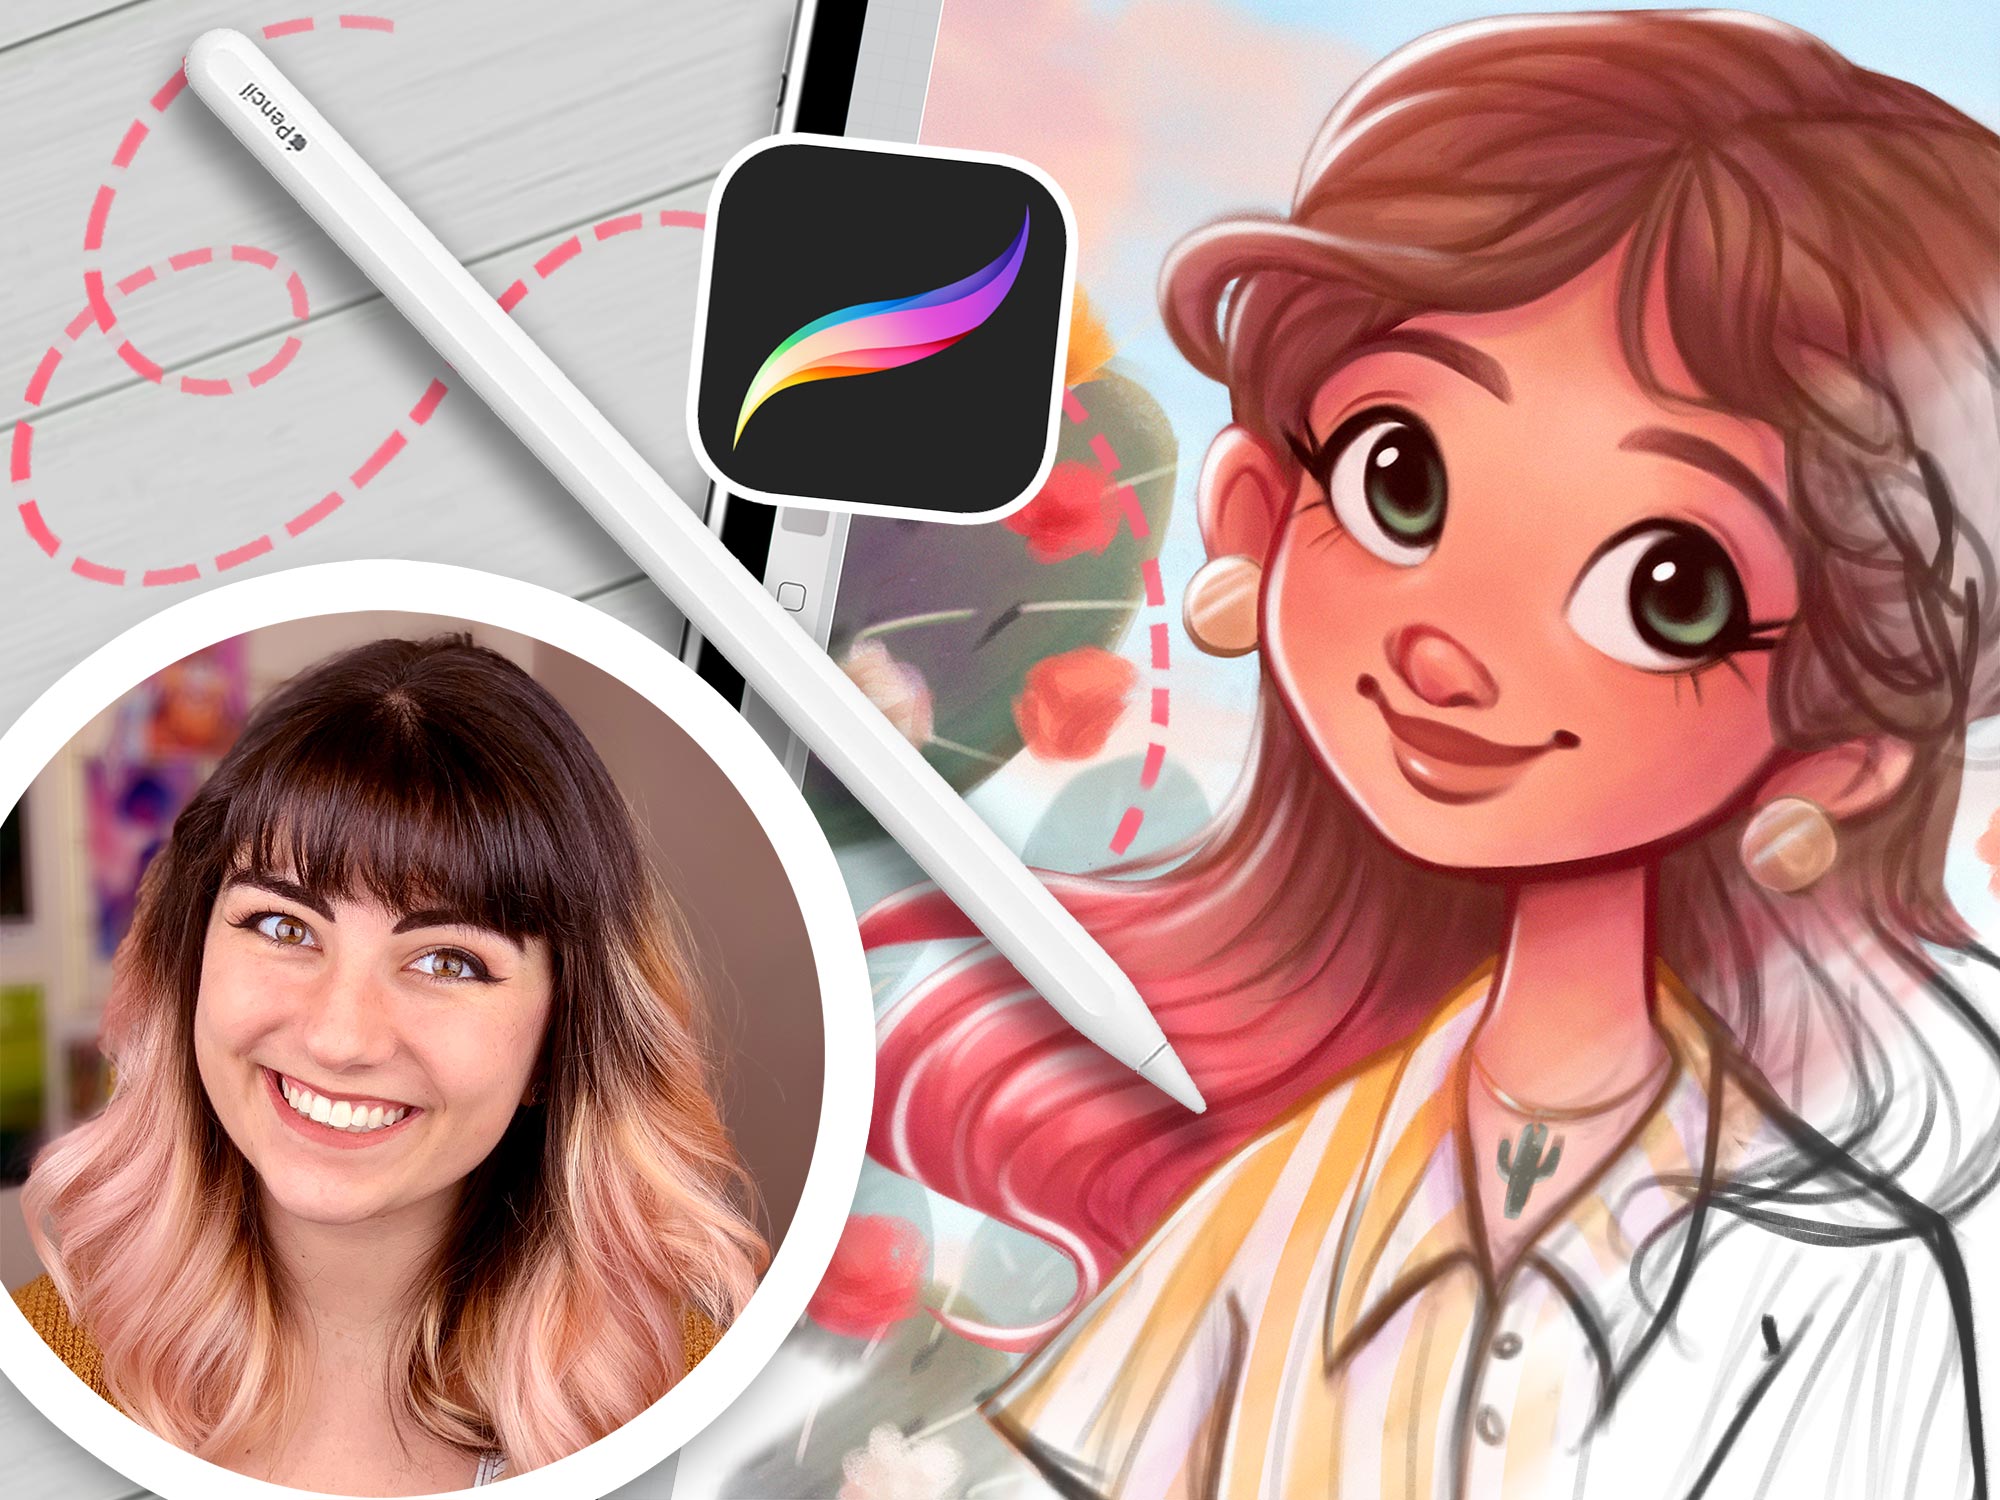
This illustrator’s feed is a burst of joy with her colorful and cute creations. Starting in 2008, she’s carved out a space where creativity meets encouragement, making her an inspiration for budding artists everywhere.
Erika Wiseman (aka Erika the Goober) is a freelance illustrator and character designer who lives in the US. She loves drawing cute, colorful things and experimenting with new drawing techniques.
Erika began teaching herself to draw digitally in 2008. Since then, she has been working with a graphics tablet and Photoshop as well as Procreate to create her digital illustrations.
In 2017, she graduated from the University of Louisville with a Bachelor in Fine Arts (with a dissertation in drawing). She made a name for herself on Instagram, which is the best place to find her art! One of her goals is to help and inspire others along their creative journey to be the best artists they can be.
Much of my inspiration comes from the things I love, the colorful worlds of video games and animated movies.
I use Photoshop CS6 and a Wacom Intuos Pro. I use an iPad Pro, Apple Pencil, and the Procreate app as well! It really just depends on how I’m feeling that day and if I want to draw at my desk or somewhere else!
My top 3 tips: Draw every day, draw from life, and study anatomy!
 See artist portfolio
Dive into Feefal’s world, where cute meets the mysterious. With a palette that ranges from digital to traditional, her art is a favorite among over a million fans. If you’re into charming yet slightly spooky visuals, she’s your artist.
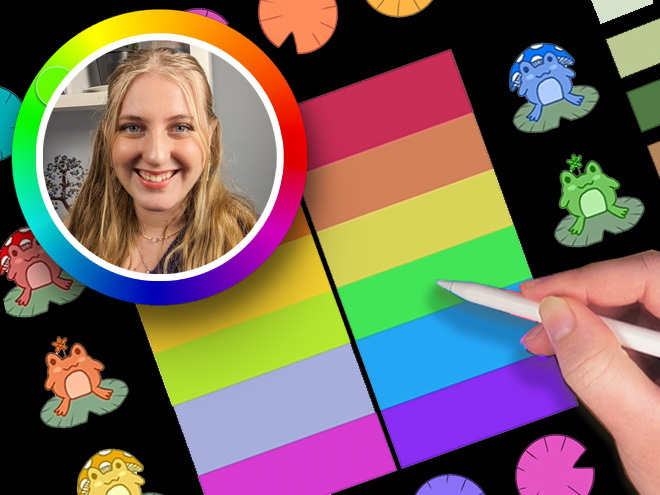
Linnea is a Swedish/Japanese artist with a following of over 1 million on Instagram.
She is known for creating anthropomorphized figures and cute, spooky characters.
Linnea lives in Stockholm with her Sphynx cat called Tofu. Feefal shares her art on a regular basis on Instagram, which she creates through a variety of media, such as Procreate (digital software), graphite, and gouache. She also published an art book, ‘The Art of Feefal’.
Fans know her by her unique, charming style featuring beautiful visuals and cute characters with horror/spooky elements. In her words, ‘I put my artistic soul in a blender’!
Don’t think your work has to be perfect or be afraid of your art being ugly. Art will be ugly sometimes. That’s how you get better!
The best part of creating art for me is definitely the sense of fulfillment I get putting my creative works out into the world. It’s really rewarding to see something you’ve put your soul into getting so many positive responses from people. It’s quite the rush!
I mostly get inspiration from nature, death, space, and occasionally spirituality. Space is probably my main muse. It’s just way too large for any human to quite wrap their head around, and its incomprehensible size makes it so intriguing.
 See artist portfolio

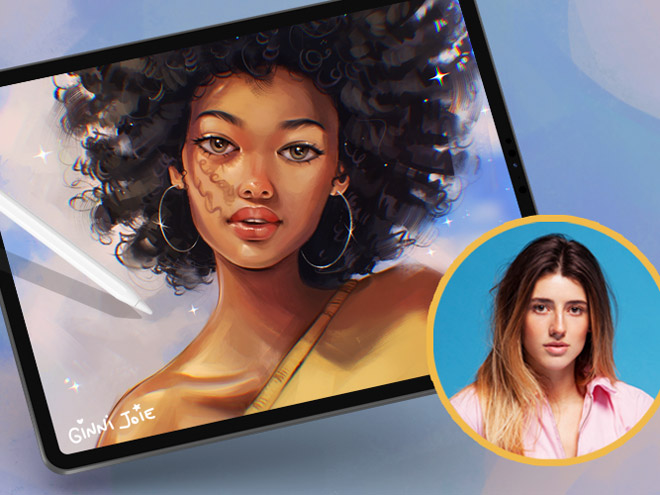
From viral Disney reimaginings to Marvel collabs, this Philly-based digital artist dazzles with detailed portraits and character designs. With a passion shared through art and teaching, her creations are a must-see.
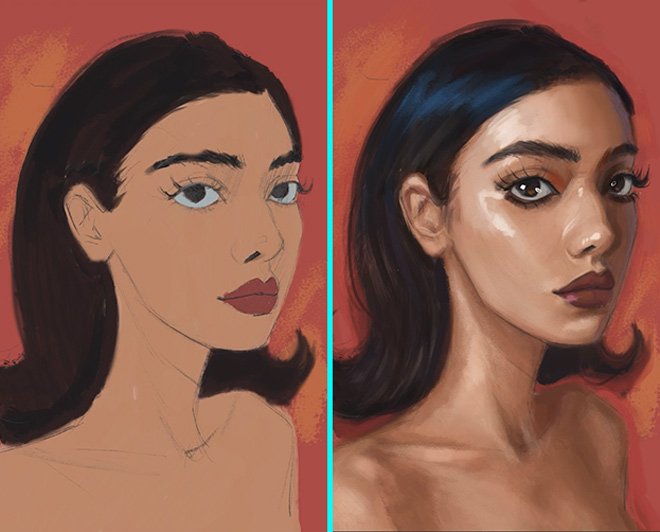
Isabelle Staub is a US-based freelance artist, specializing in vibrant digital portraits and character design with incredible attention to detail.
Isabelle started creating art at a very young age and went on to receive a BFA in Illustration at Moore College of Art and Design in Philadelphia. The culmination of dedicated work and a burning passion has propelled her to become a recognized artist worldwide.
Her popular series ‘Disney animals transformed into human characters’ went viral on social media, leading to collaborations with companies such as Marvel and MGA Entertainment.
Art has always been a love of mine from before I could remember. I pour my heart, mind, and soul into every piece I create.
Isabelle’s versatility and creative talent allowed her to work with brands such as Dynamite Comics, Wacom, TikTok, Corel Painter, and more. Teaming up with CASETiFY, she created an entire line of gorgeous device cases.
Along with creating original artwork for her clients, she also uses her social media platforms to educate others, passing on her artistic knowledge and expertise. Isabelle currently lives in Philadelphia and has two adorable cats.
Be easy on yourself! Being an artist is a journey, not a destination. Try not to compare yourself to people further along in their journey. You will get there!
 See artist portfolio
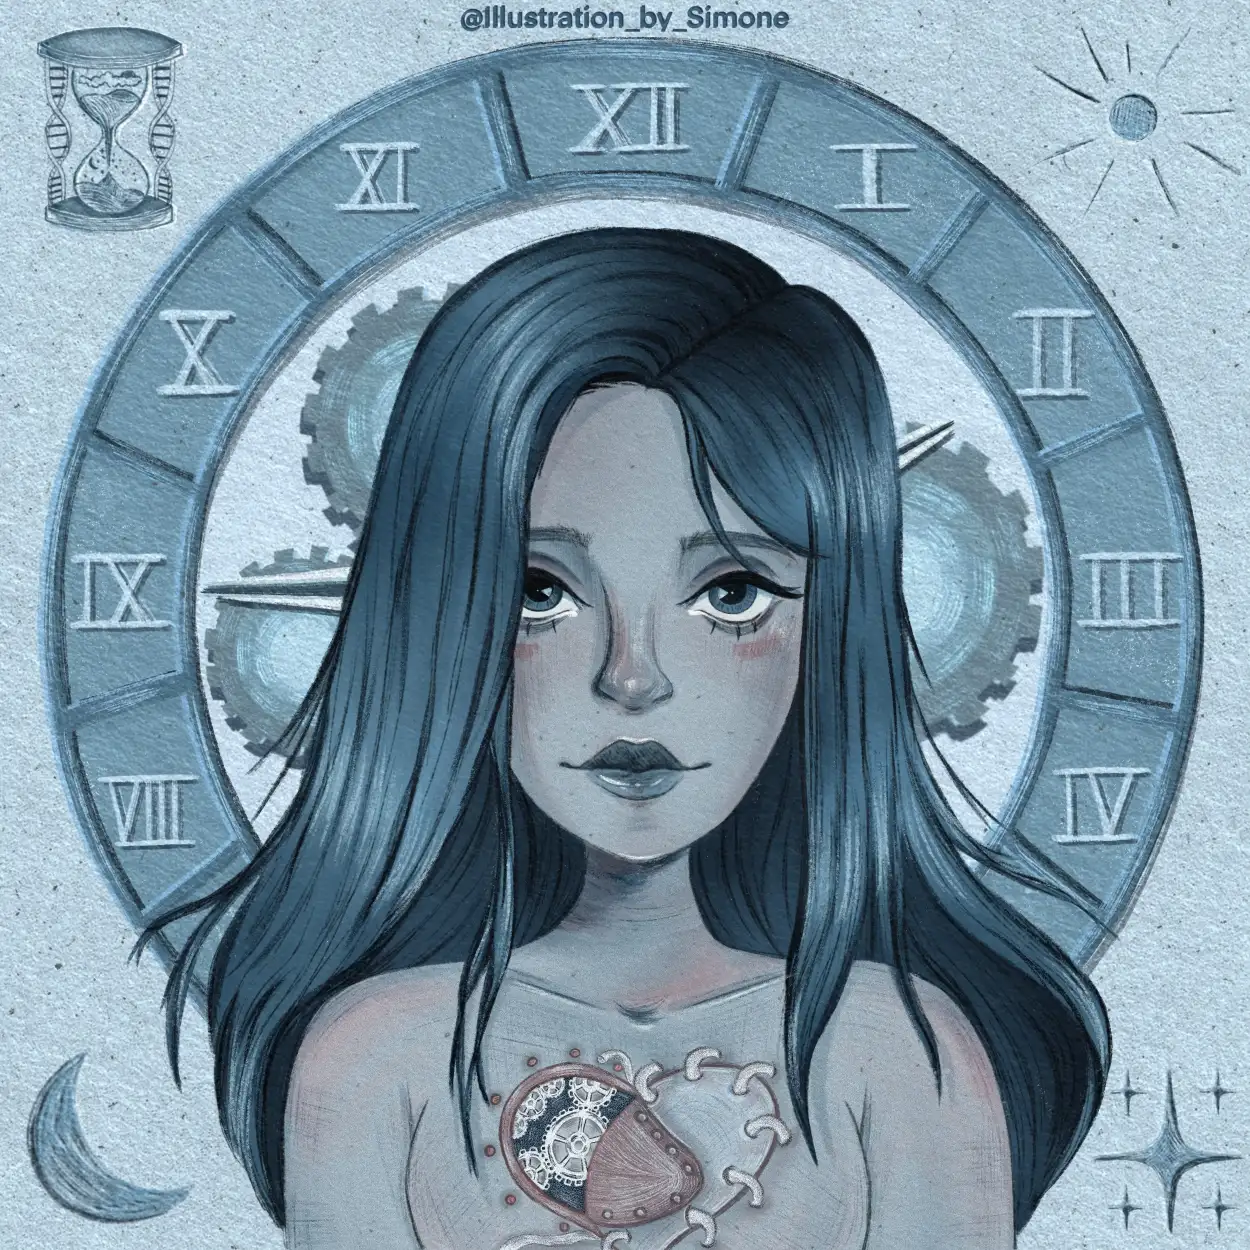
Meet “Schmoe,” your go-to artist for illustrations that breathe life into the everyday with charm and wit. Her vibrant creations, filled with humor and the realness of motherhood, are a breath of fresh air, promising a smile and a new perspective with every piece.
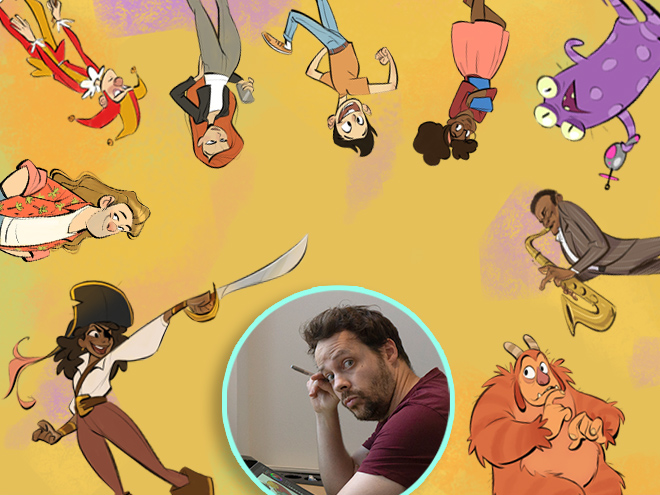
Simone Grünewald is a Visual Development artist from Germany who worked in the gaming industry for over 10 years as an art director, character designer, and 2D animator.
In addition to her commercial work, she loves creating emotive, dynamic designs that document her life, including the experiences of motherhood. Having followed the creative path all her life, Simone has a wealth of knowledge in traditional and digital art.
She shares beautiful, entertaining artwork as well as insights and tips with her followers on social media and is known for her humorous characters and everyday themes. Simone is also the author of Draw What You Love and Sketch Every Day.
 See artist portfolio

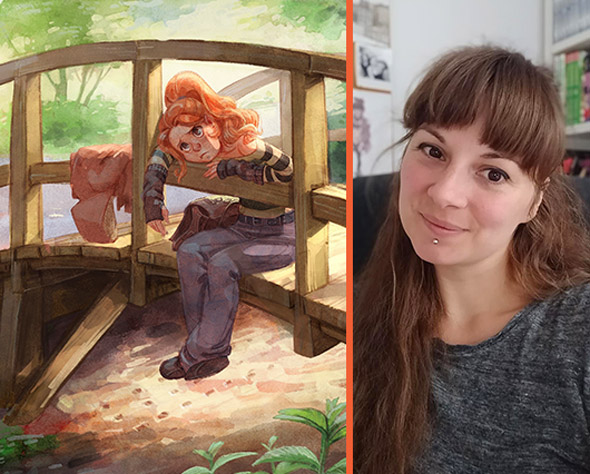
From video games to storybooks, this Italian artist brings tales to life with her vivid illustrations. Her diverse projects have captured hearts across the globe, showcasing her talent for creating engaging, narrative-driven art.
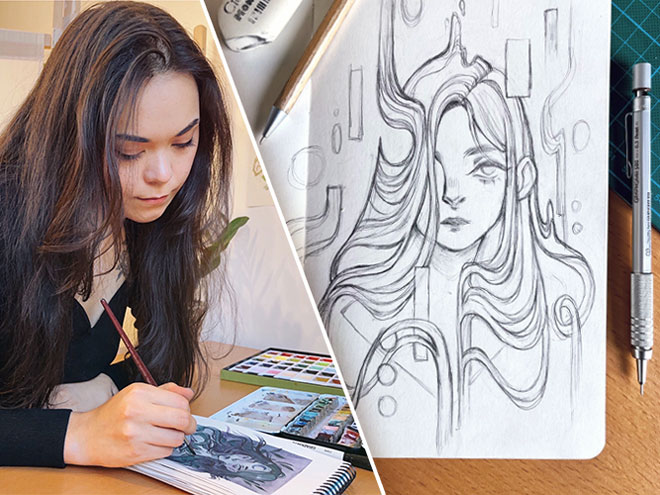
aria is an illustrator and story artist from Turin, Italy. She has a BA degree in Magazine Publishing from the University of the Arts London, has studied Traditional Animation at the International School of Comics in Turin and attended a masterclass in Storyboarding at the online school CGMA.
In 2018 she started an indie video game studio in Turin and is currently working on the second in-house game ‘Out of The Hat’, an uncanny journey in the mind of a villain.
In the past couple of years Maria has worked in many editorial projects as an illustrator and character designer, for prominent publishing houses and brands such as Oxford University Press, Hachette and Disney. Her illustration work is represented by Illustration Agency Advocate Art.
She also pursues personal illustration and graphic novel projects that you can follow on her blog and Instagram feed.
I draw inspiration from anything I see and read, definitely books, tv series and movies, but also street style, architecture, people in cafes… I think everything that I encounter stays trapped somewhere in my subconscious and is constantly reworked into anything I draw or write.
Quote: ‘Take what you want and pay for it’ it’s a quote from my favourite book series ‘Wheel of Time’ – I like the idea that we all can make the choice to live as truly to ourselves as we can, deciding to do so even when we know that there might be consequences we’ll have to pay.
Artists: Alessandro Barbucci, TB Choi, Otto Schmidt, Jin Kim, Patrick Osborne
Movies/Series: Little Miss Sunshine, Laputa, How To Train Your Dragon / Full Metal Alchemist Brotherhood (as a series)
Games: Bioshock Infinite, The Witcher 3, Sunless Sea, any Civilization game
For illustration and character design I use my iPad Pro and Procreate, although for animation jobs I prefer a Wacom Cintiq 22HD connected to my iMac.
I feel like there’s no one type of advice that will work 100% for every person.
I approached the world of gaming and illustration quite late, with no formal education and after having studied and worked in very different fields for years. My advice would be that it’s never too late. Paraphrasing Rainer Maria Rilke if, when you wake up in the morning, you can think of nothing but drawing, you should probably make that your primary occupation! It doesn’t matter if you don’t draw in a style that is ‘conventionally’ considered cool or beautiful, if it’s what you need to do to express yourself it’s worth pursuing!
 See artist portfolio
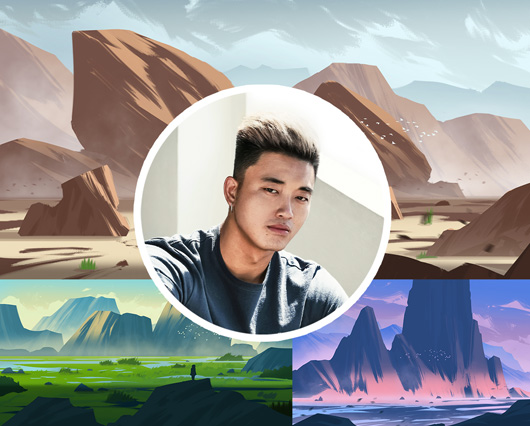
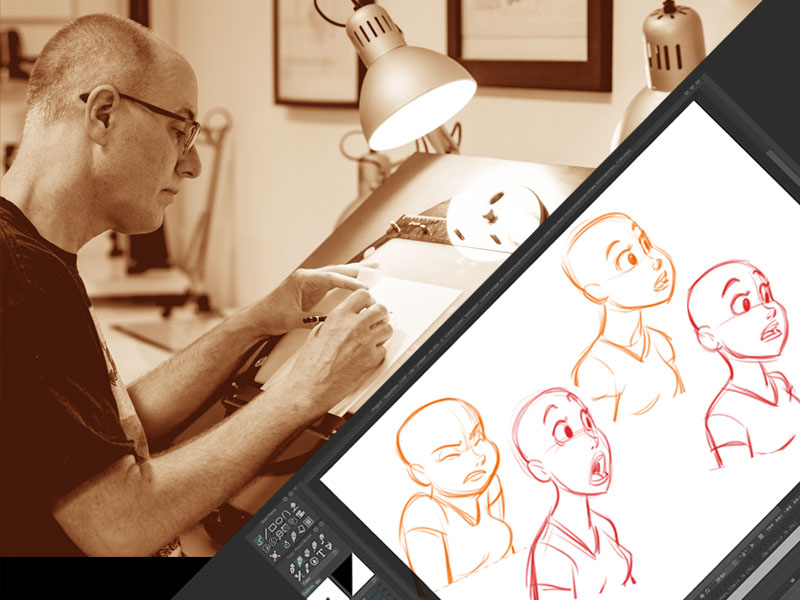
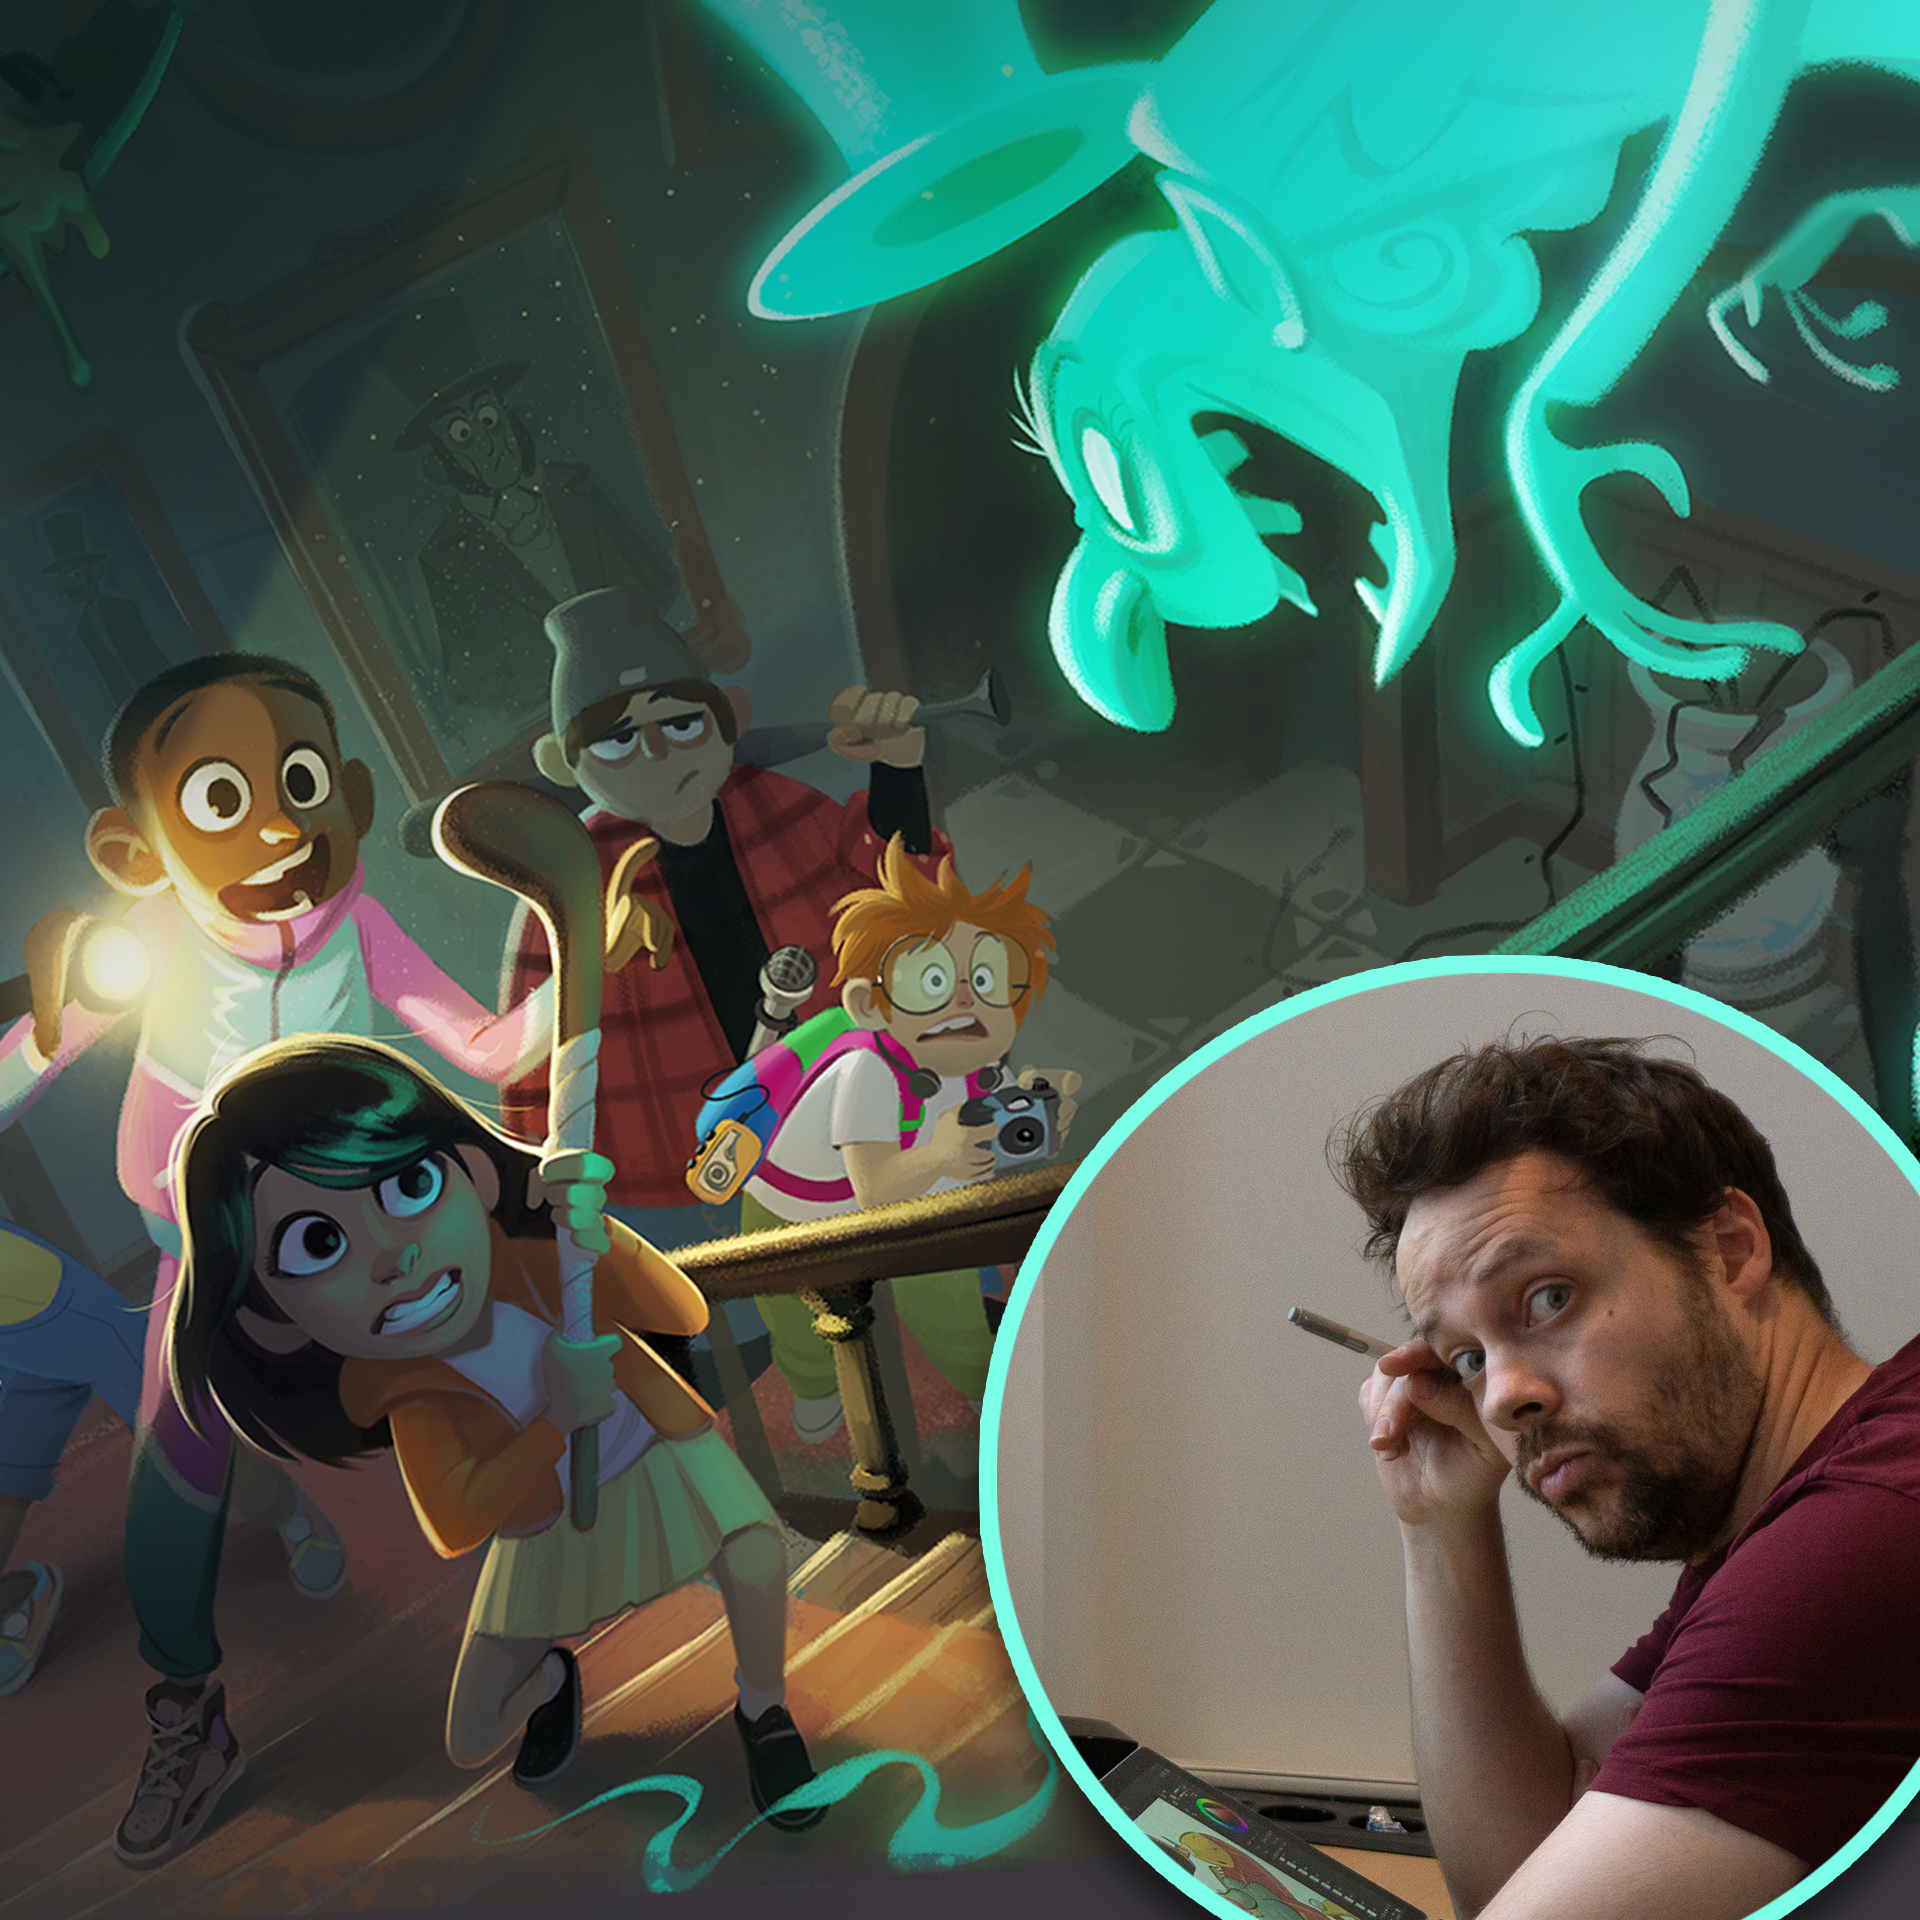
She’s transforming the 3D art scene with characters that leap off the screen. Drawing inspiration from animated classics, her work in character design and education is lighting up the industry, making her a beacon for aspiring artists.
Meike is a 3D Artist & Illustrator, with a strong focus on characters, based in Cologne, Germany. She is probably best known through Instagram and Tom Bancroft’s ‘MerMay’. Her work includes projects such as Children’s Book Illustration, Character Design, Visual Development, 3D Character & Environment Modeling as well as Look Development. She is currently working as a freelancer for various animation studios and companies as well as teaching as an instructor at the School of Games in Cologne.
Her work was highly influenced by Walt Disney’s feature classics such as Aladdin and Pocahontas. CG Movies such as Tangled, Frozen or Wreck it Ralph were some of the reasons she was inspired to pursue a career in animation.
After winning the Artist of the Month May 2016 by RebusFarm, her 3D Character, ‘Little Mary’, was published in the 3D World Magazine Issue 211, the worlds best-selling magazine for CG Artists.
Right after finishing school in 2012, she began studying 3D Animation & VFX at the PIXL VISN media arts academy. After graduating with a Diploma in Animation, she became finalist in ‘The Rookie Awards 2014’, which led to a job at Dooblex, a studio for product visualization. While still working full-time, she started taking commissions and slowly building my own brand as an artist.
In mid-2019, Meike quit her job to become a full-time freelancer, working on projects such as children’s book illustrations for ‘Finni & Fredo’ and ‘My Best Book’, artwork for Adobe, visual development and character designs for the upcoming TV show ‘Coral Kins’, as well as character designs for Paris Hilton’s mobile game.
 See artist portfolio
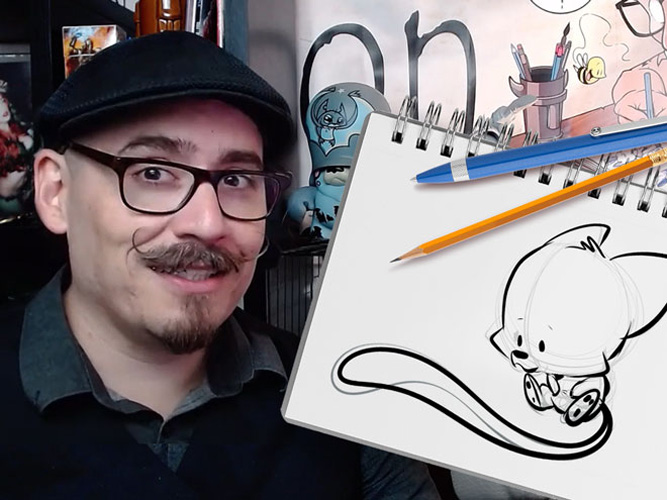
Lauren transforms pets into digital art in Procreate, enchanting with her ‘Coffeedraws’ and humorous animal cartoons. Her collaborations with Disney and Mattel, paired with co-hosting MerMay, spotlight her as a beacon of creativity and fun in character design.
Lauren is a character designer based in Charlotte, NC, known for creating ‘Coffeedraws’, being a co-host of MerMay on Instagram and for her comical cartoons of animals and people.
Lauren Barger, Character Designer & Illustrator
Lauren attended Herron School of Art and Design, where she pursued a BFA with a focus on illustration.
In 2019, she opened her company, LB Fine Art, producing mainly portrait artwork on commission both traditionally, using watercolors and colored pencils, and digitally.
She has gone on to work in visual development and character design with notable companies in the animation and toy industries, including Sony, Disney, Pixelle Studio, and Mattel.
Lauren is also a co-host and partner of MerMay, a social media drawing contest founded by Disney animation veteran, Tom Bancroft.
I am passionate about visual development and character design and love making my audience laugh and smile through my artwork!
Lauren is known for her engaging illustration projects, such as the ‘Animal Butt’ watercolor series, ‘Coffeedraws’ series, and ‘Pets to People’ series.
‘Coffeedraws’ is an interactive social media series that ran for 200 consecutive days, generating a strong following on Instagram. This series has been a highlight of Lauren’s artistic journey and a delightful way to interact with her followers.
I create fun art, or “F-ART” as I call it. I am a F-ART maker!
 See artist portfolio

This membership gives you 11 Procreate courses and 40 other art courses.
Whether you’re new or experienced, we have classes for ALL SKILL LEVELS!
Our teachers will show you how to use brushes 🖌️, then teach you shading and lighting to make your drawings pop!
By the end, you’ll feel confident drawing on your iPad, and you’ll get a certificate to prove it!

Get ready for an exciting adventure and discover how amazing you can be as a digital artist! Start now! 🚀


I recently completed the course and I'm really happy with it. Helped me improve on my time and Layer management easily. would love to get some feedback to see in what parts I could improve o... Show moren.


Hello Quinn,
Congratulations on finishing the course! I’m happy that it helped you out.
Your submission is absolutely stunning! I can see that you’ve put a lot of work into it and we can appreciate all the intricate details you’ve included in the design of your character.
Overall, I think you’ve executed on all the teachings of the course well and you’re definitely ready for a more advanced course. With that said, here is some more advanced feedback that would be outside the scope of this course:
Perspective of Leaves
Neck & Collarbone
With that said, I think you did an amazing job. I hope this was helpful and all the best with your future illustrations!


Thanks for the course, I learned a lot! Attached is my mood board and the final piece. For this course I decided to draw a dark elf character I’ve been coming up with. I had a lot of fun m... Show moreaking this but would appreciate any feedback on how to make it better :)


Hi Morgan!
Thanks for your submission and sorry for the delayed response. I’m happy to hear that you got a lot out of the course. First of all, I think you utilized the references and the moodboard wonderfully. Your final designs of your character as well as the environment are cohesive as a result. The colors you used also go a long way in conveying the mysterious and magical feeling of your illustration.
With that said, let me point out some areas with room for improvement.
Symmetry
I noticed that some of the facial features and the torso of your character aren’t symmetrical. I recommend the use of guidelines during your drawing phase to help you put elements in the right place and have them be properly aligned.
While you’re drawing, you should also flip your canvas horizontally from time to time as it helps you spot errors more easily. Once you’ve identified something that’s asymmetrical or warped in an undesirable way, you can redraw that section or use the liquify tool to correct it.
Armor
The design of the armor looks great. I like its curved edges and the ornate etchings. Where I think there is room to improve is in the rendering of the material – in this case, metal. Metal can be tricky to paint. It is a reflective material, so make sure you keep it high contrast. Highlights should be bright and shadows should be dark.
In addition to that, try to avoid soft edges as they can make the armor appear “mushy”. Use hard and distinct edges especially where there is overlap between two or more layers of metal.
Overall, I think you did an excellent job. I forgot to point out that you also did great for the background. I hope this feedback helps and good luck for your future illustrations!


I'm very new to procreate, and I like drawing cute frogs. It was fun to learn so many features in procreate, I look forward to drawing more things in procreate and incorporate more of the th... Show moreings included in the course. I can definitely see an improvement in how I color and the layering really helped.

Hello Yazmary,
I’m glad that you’re learning a lot from the course about using Procreate. Procreate has such powerful tools that many of us can benefit from if only we knew how to use them!
And what a lovely illustration this is. It’s giving such cozy vibes and I also really like the complementary color palette you used for this.
Best of luck with your future drawings and keep drawing!
Fantastic course! I tried to follow Simone's directions in my illustration, from blocking in to choosing brushes to handling shadows and lighting. I would be enormously pleased if I could ge... Show moret some feedback so that I can improve my next illustrations. Thank you very much Gabriella

Hi Gabriella!
Apologies for the delay in getting back to you!
We're delighted to know you enjoyed the course and found it useful! You did an amazing job on this illustration. I'm a huge fan of the style and your composition skills are impeccable!
Following, you can find a couple of suggestions you can look into for your next illustration, as well as an example attached to this message:
You can find more explanations in the attached pictures. Don't hesitate to ask if you have any question!
Keep up the good work and have a great day!


I’m following along on this course, but I feel like I’m “stuck” and I’m not sure what to do to improve. I feel like my painting is very flat and I’m struggling with colors. Also,... Show more it seems very “blocky’, and I’m struggling to get a fluid, painterly look. Can anyone provide me some guidance? Unfinished painting attached>

Hi Andrew!
Thank you very much for sharing your painting with us! The proportions of your portraits are on point and I can tell you've applied all of the teacher's advice very well! Here are a few suggestions to help you with your problem:
You can refer to the attached images for reference! Have a great day and don't hesitate to ask if you have any questions!


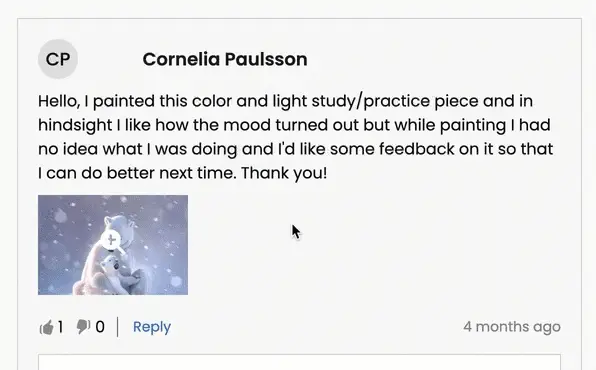
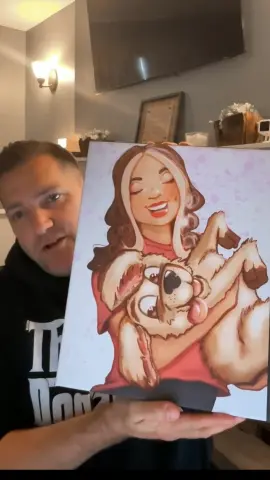
Hello, I finished the Aveline’s course and would like to get some feedback how I can improve my illustrations.. I am not completely satisfied with my work so hope your feedback can help.. ... Show moreThank you.


Hey Alisa! I love your work, you have done an amazing job of following along with Aveline's assignments :)
To keep your feedback simple, I have chosen to refer to your night-time lighting scenario. Check out the tips and images I have attached below, I hope they help :)
I have attached some images with tips and edits to help guide you through this process. Let me know if you have any questions :)


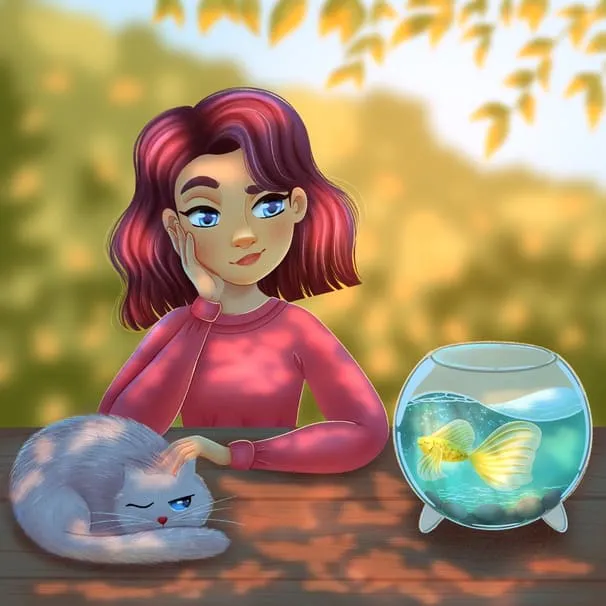
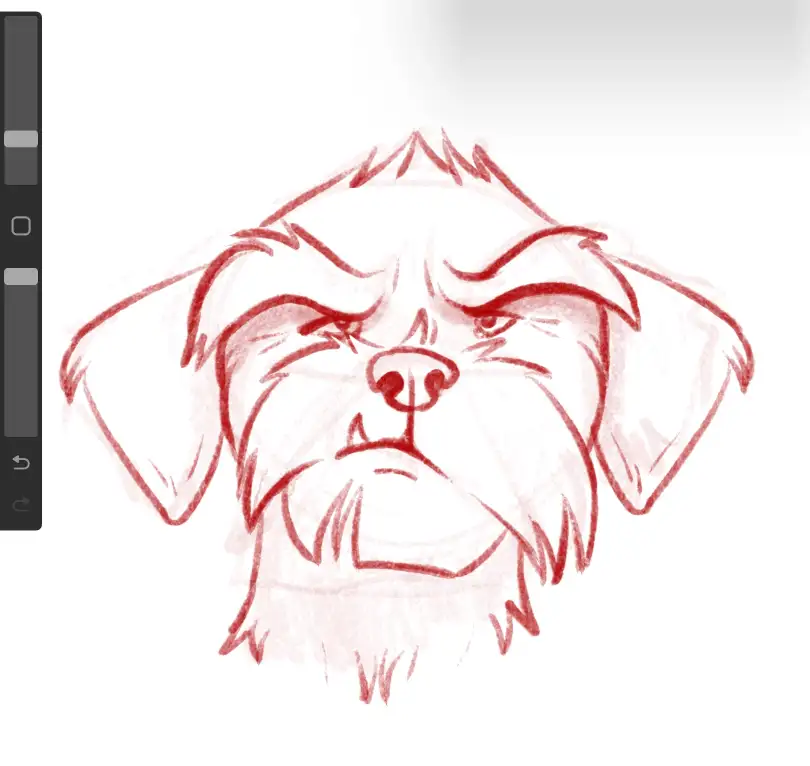
Do much focus on the eyes and not enough focus a the rest of the art. Still the face is not quite right ( used a reference feature) but really learned a lot from class.

Hello Berna,
Thanks for submitting this wonderful painting. I think the loose painting style works great and the extra detail around the face compared to the rest of the body does a good job at focusing the viewer’s attention.
I do notice that the dog’s face seems a little off. Sometimes it can be hard to tell which part of the painting needs to be worked on. Two tools I can suggest for checking your painting/drawing are:
You can place a guideline on a separate layer to make sure the facial features you draw are symmetrical.
Procreate allows you to flip the canvas horizontally. By occasionally flipping the canvas, it allows you to “reset” your perception of your painting, and it will be easier to spot your errors while painting or drawing. Try it out on this one and it should be easy to see where and what needs fixing!
I know that for painterly styles like this, it can be hard to make changes without essentially re-painting a section again. Procreate has a built-in Liquify tool that is perfect for situations like this. You can use the liquify brush to push or nudge your painting around until it is correct.
I hope this helps and I’m glad that you learned a lot from this class. Good luck with your future art pieces!


Hello Aveline, I congratulate you on your art and I follow your art with enthusiasm. I would also like to thank you for meeting us on such a occasion. I am adding my works and waiting for yo... Show moreur comment :)


Hi Nida!
Wow, you did such a great job of applying the techniques from this course! I love that you've put your own characters into the scenes as well! I only have a few small notes for you.
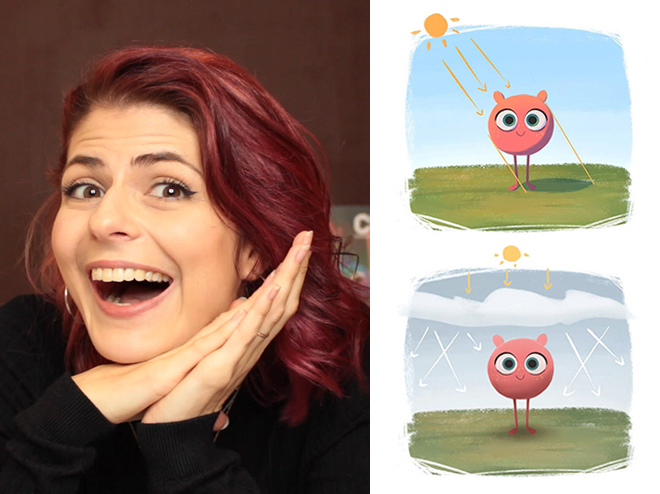
For the Night Scene:
Increase the glow in the night scene! Use a soft brush to lighten that part of the scene (I used a light yellow with a soft-light layer setting)
Add more highlights/rim lighting on the night scene as well. Make sure you have lots of contrast and really make the most of the fun lighting!
For the Day Scene:
*Add a few extra shadows to reflect the size of the skirt/around the skirt to imply more 3D form
You've done such a fantastic job with these, and they're honestly great the way they are! Well done!


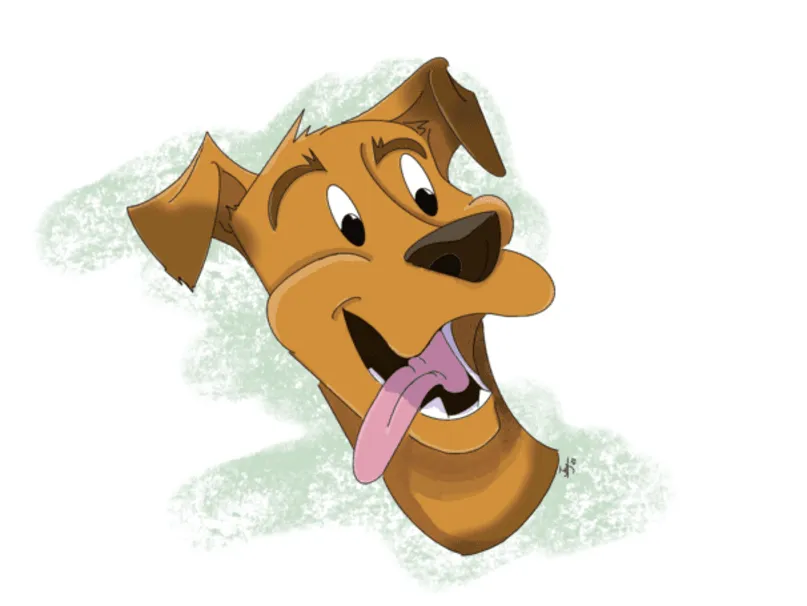
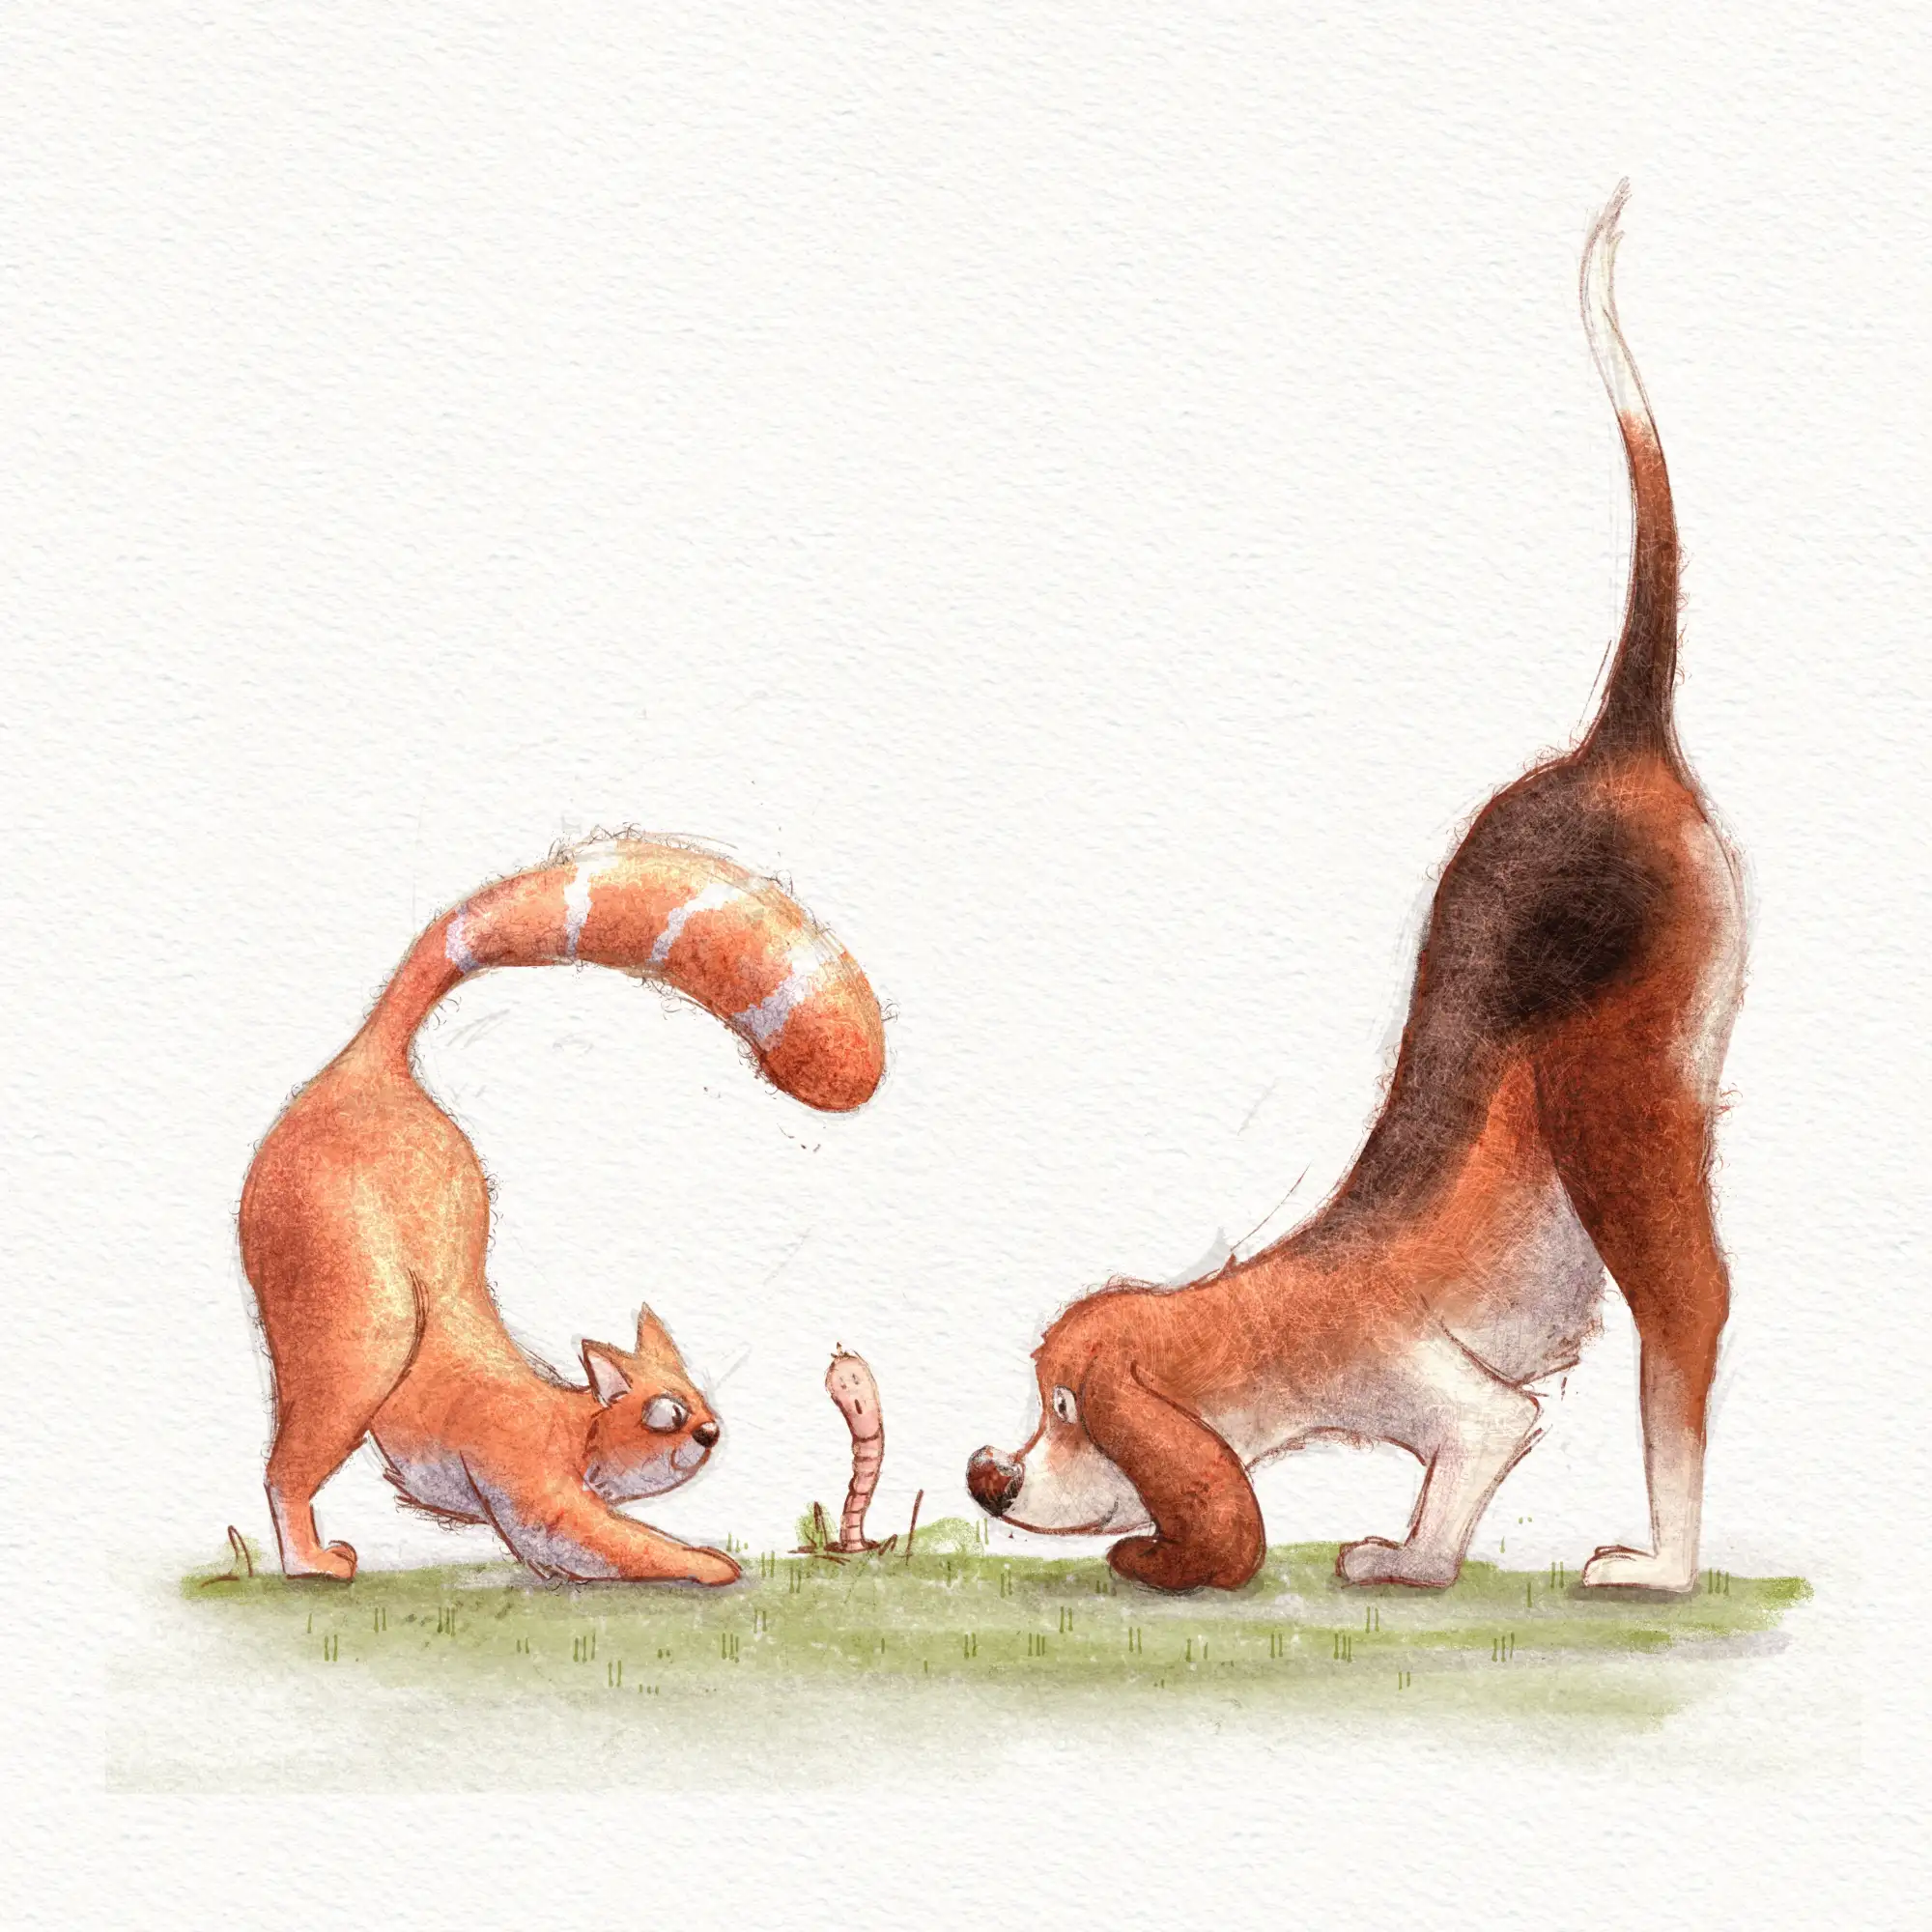
I absolutely loved this course! Very inspiring and simple :) Turned out that I'm really good at drawing dogs. Cats are harder to draw for some reason:)

Hi Lana!
This is such a cute drawing! It's very lively and there is a great personality coming from them!
When drawing cats focus very much on the flow - lots of round fluid movements. The line of action will be very important for their poses.
For this particular drawing I just have a couple suggestions!
Push the snout slightly further forward. This will help make the head feel a little more round and improve the sense of dimension. Think of the base of the head not as a circle, but as a sphere!
When drawing complicated shapes like limbs, especially when they're folded up, think about how each segment is a basic shape. Using the right amount of lines, you can force a sense of perspective by overlaying some with others. In this case, you can add a couple extra lines to make the back leg seem more like it is bent away from the "camera".
Use the tail to emphasize the sense of movement! Follow the line of action you already have moving through the pose! Treat it as an extention of this. But also try to consider where the dog was in space before - the tail can have a very lovely flow to it if it is shaped as though it is coming from where the dog was just a moment ago. You were very close to this I think, but lowering it slightly makes it feel less like the dog has dropped down very suddenly.
It's great to hear that you loved the course! I hope you continue to draw more fun animals in the future!


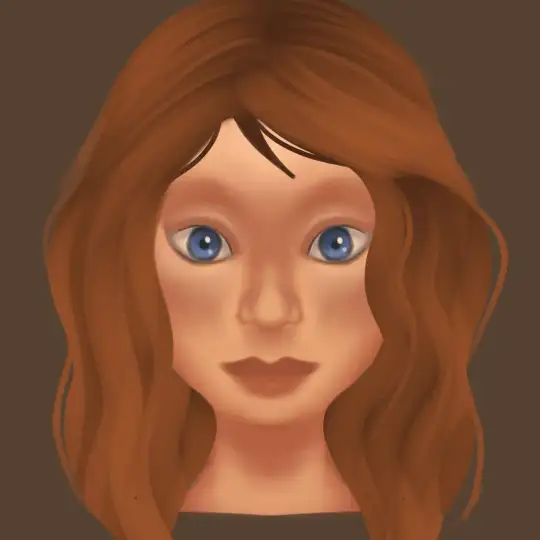
Hi recently I finished this drawing and I would like to get some feedback to improve my illustration.

Hi!
Thank you for sending in your painting! This is incredible work. The subject is beautiful and your use of color is mind-blowing!
You could maybe try to have the hair on the chin flow in more various and natural directions. Even with the head clearly in motion within the scene and the hair following in the same direction, I think there could be a little more variation.
You can check out the attachments for a more visual explanation! I hope you’ll find them helpful! Don’t hesitate to ask if you have any more questions and I wish you a beautiful day!


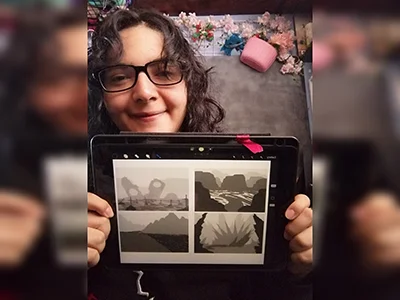
I really enjoyed creating the thumbnails and the final piece. I love to keep my rough sketch slightly visible and I like to add some more texture to my designs. But I loved the gloaming brus... Show moreh and I’m going to use it more often:) Thank you very much for this fantastic class!


Hi Marjolijn!
I'm glad to hear you enjoyed the course! I'm a huge fan of the way you used the brushes and the colors! Your characters have a lot of personality and I think your final drawing looks really professional.
Keep up the great work and have a fantastic day!
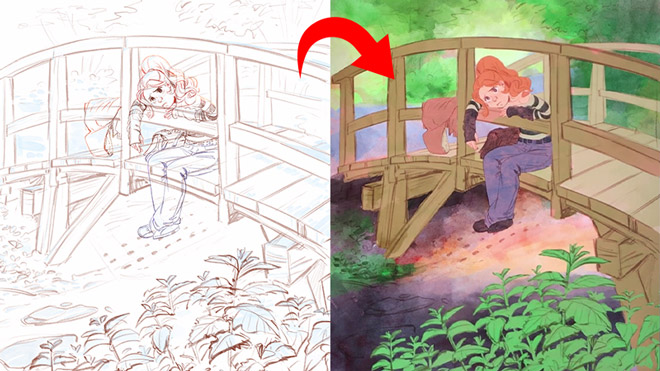
Hi Aveline, thank you so much for this fun and super informative course. I really enjoyed your lessons! Here are my interpretations of the four light scenarios with my characters. Any feedb... Show moreack would be very appreciated. Many thanks, Sara


Hey Makdessi! These illustrations look amazing! You have done a great job of using the lighting and shading techniques from this course :)
Here are a few feedback suggestions that you could try in future illustrations/ to improve these:
Try these out and see what you think! Wishing you a creative week, Rhea


I have never used Procreate before so I did the first lessons on paper working my way through the other ones I’m not used to drawing with circles and lines of actions. I pick a body part ... Show moreand then I draw from there that’s what I’m used to so I didn’t use the circles the way I was supposed to


Hi Louise!
This is such a great drawing so far!
I do recommend trying to start a drawing with the basic shapes before you get too far into detail to make sure that the drawing has a solid foundation.
Break things into spheres and cylinders. Spheres for the head and joints, and cylinders for the limbs and snout. Using these as a guide and it will help add dimension
Another thing that will add dimension is layering one shape of the other. Having a shape hidden behind another will instantly add a sense of 3D.
Think about their skeleton! Look at where their bones bend. This is the natural basic building of an animal. You don't have to draw every bone, but you can break it into areas - The ribcage as one oval, the pelvis as another. The forearm bone as a cylinder, the joints as spheres. It helps a lot to understand how a creature can move and bend, and how they can't.
You're well on the right track and each drawing you have done is very expressive and has lovely poses, good job!


Hello!! I love the course and tried to do all types of lighting by myself, it would be really great to hear feedback, comments and critics about my work. Thank you very much in advance!! Pa... Show moreuline


Hello Polina! I love your drawings, they are so gorgeous! Thanks for sharing them :)
Check out my feedback below and notes I have added to your drawing! I hope you find them helpful :)
I have attached some images with tips and edits to help guide you through this process. Let me know if you have any questions :)


 Review of "Learn Anatomy in 21 Days" course
Review of "Learn Anatomy in 21 Days" course
Review of "Learn Anatomy in 21 Days" course
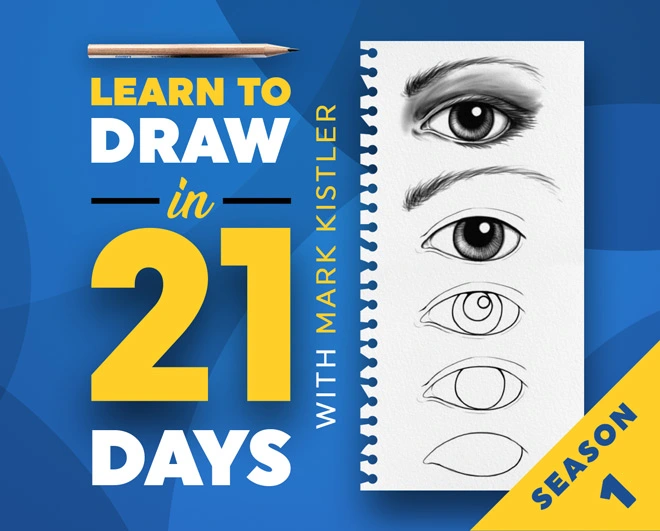
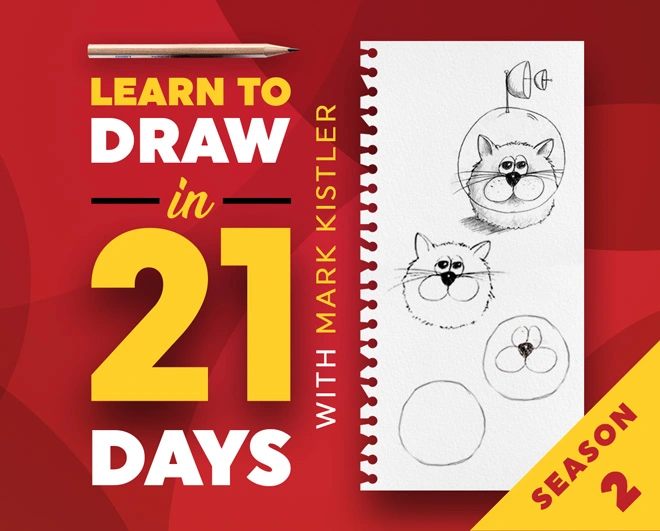
 Review of "Learn to draw in 21 days (Season 1)" course
Review of "Learn Anatomy in 21 Days" course
Review of "Learn to draw in 21 days (Season 1)" course
Review of "Learn Anatomy in 21 Days" course
 Review of "Mastering Lighting and Shading" course
Review of "Mastering Lighting and Shading" course
Review of "Learn to draw in 21 days (Season 1)" course
Review of "Mastering Lighting and Shading" course
Review of "Mastering Lighting and Shading" course
Review of "Mastering Lighting and Shading" course
Review of "Learn to draw in 21 days (Season 1)" course
 Review of "Digital Illustration with Procreate" course
 Review of "Procreate Made Easy" course
Review of "Procreate Made Easy" course
Review of "Procreate Made Easy" course
 Review of "Drawing Character Poses with Personality" course
 Review of "Digital Drawing in Procreate for Beginners" course
Review of "Procreate Made Easy" course
Review of "Digital Drawing in Procreate for Beginners" course
Review of "Procreate Made Easy" course
 Review of "Drawing Pets from Scratch" course
 Review of "How to Draw a Cartoon Character" course
The 11 online classes are worth alone $595, but it’s all yours for a fraction of that!
Just picture it: That hobby you once enjoyed can now be your ticket to financial freedom.
And the best part? It costs ONLY the price of a new pair of jeans 👖 or 20 lattes ☕ or a dinner for two 💑


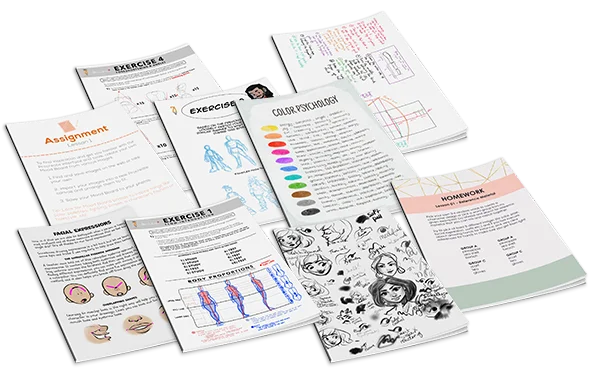
Membership includes unlimited access to all 50+ courses taught by the world’s best artists PLUS new courses as they are released.
Each class includes 10-20 video lessons that are 7 minutes long on average. Most classes include exercise sheets, assignments, and layered PSD or PNG files.
Some classes include the ability to chat with the instructor in a public forum, e.g. if you want feedback on your artwork.
All classes are pre-recorded and you can watch them online with any digital device, anytime, and for an unlimited number of times! This means you can easily watch (and rewatch) them at your own pace and convenience.
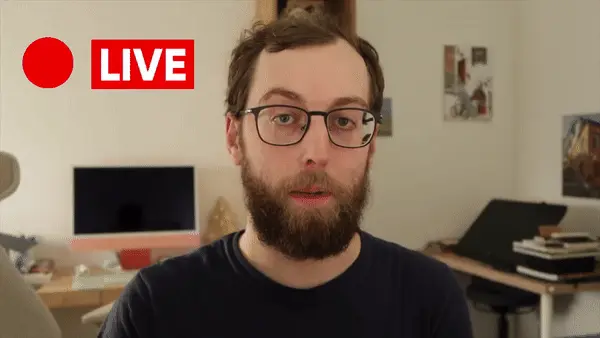
We also have bonus live sessions that are free of charge for all our students.The classes are approachable for beginners and has advanced techniques for those with more experience.
If you have no art experience whatsover or struggle to draw a basic character, we recommend starting off by taking our 'Learn to draw in 21 days' classes.
All classes are available in English (original narration) and most have dubbed narration in Spanish, French, Italian, German, & Portuguese.
Subtitles are available for all course in the following languages: English, Spanish, Japanese, French, German, Italian, Portuguese & Indonesian.
Absolutely! All our memberships have a 30-Day Satisfaction Guarantee. If you are not completely SATISFIED and ENLIGHTENED, then contact us within 30 Days for a full refund, no questions asked!
We started 21 Draw in Sweden in 2013 with the goal of helping everyone become a better artist!
We’re called 21 Draw because when we started we only had a budget to hire 21 artists. However, a huge number of the artists were so enthusiastic about getting involved, so we couldn’t resist adding more, and creating even more products, everything from books to online courses.
Our goal is to work alongside the world’s best artists to help our community and you reach your artistic goals. We want to make amazing art education affordable for everyone.