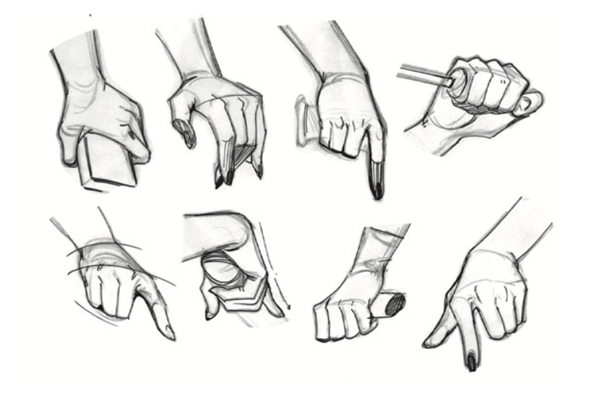
Do you ever get frustrated when drawing hands?
Hands are arguably one of the most difficult body parts to draw, and once perspective becomes part of the conversation, it seems to get infinitely more difficult! There are so many art memes about drawing hands—how we hide them from view so we don’t have to draw them, or how they’re commonly the least rendered area because we just don’t like drawing them.
Today, I’d like to present you with a few tips from Maria Malandrino’s course, “Fundamentals of Drawing”, so you can better understand how to draw the hand. We’ll go over the dot method, the box method, and how to use the negative space around the hand to draw more realistic hands. Let’s get started!
With this method, we’re creating a spatial skeleton for the fingertips by jotting down a dot for each fingertip and connecting them. Without needing to draw the entire hand, we can assess if the distance we’ve drawn between each finger matches the distance in our reference photo. Next, we’ll create a base for the hand!
This box method is a godsend because it helps ensure that the perspective in our hand drawing matches our reference as closely as possible. With this method, we save time drawing, as we don’t have to repeatedly go over our sketch to match the reference photo!
Simply draw each part of the hand as a box-like shape, using the fingertip dot guideline from the previous tip to place the boxes correctly. Don’t worry too much about getting the placement of the boxes perfect here, because we have another tip you can use to refine their positioning!
Negative space is the space around an object—or in our case, the hand. Visualize the negative space between the fingers as a shape. If the shape of the negative space in your reference is different from the negative space in your sketch, adjust accordingly!
This is one of my favorite methods to check the accuracy of my hand drawings because comparing shapes takes a lot less brain power than redoing a hand drawing over and over again to no avail.
You’ve drawn your fingertip skeleton, created a perspective guideline, and refined your blueprint using negative space. It’s now time to sketch the hand!
Detailing the curves of the hand, wrinkles, and bone structure should go a lot smoother now that you have a solid structure to follow! Using the guide you’ve made with Maria’s three amazing tips, draw in the lines you see in the reference photo!
As you draw the hand, keep in mind that each finger has a different length and that the finger curves at the end! Another thing you may want to note is that the palm on the thumb side is more angular than the pinky side.
If you’d like more anatomy tips, Maria Malandrino’s course, “Fundamentals of Drawing”, contains FREE detailed lessons on facial and body proportions!
Bree is a digital artist based in California. She enjoys helping new artists grow and loves to create artwork of her own.