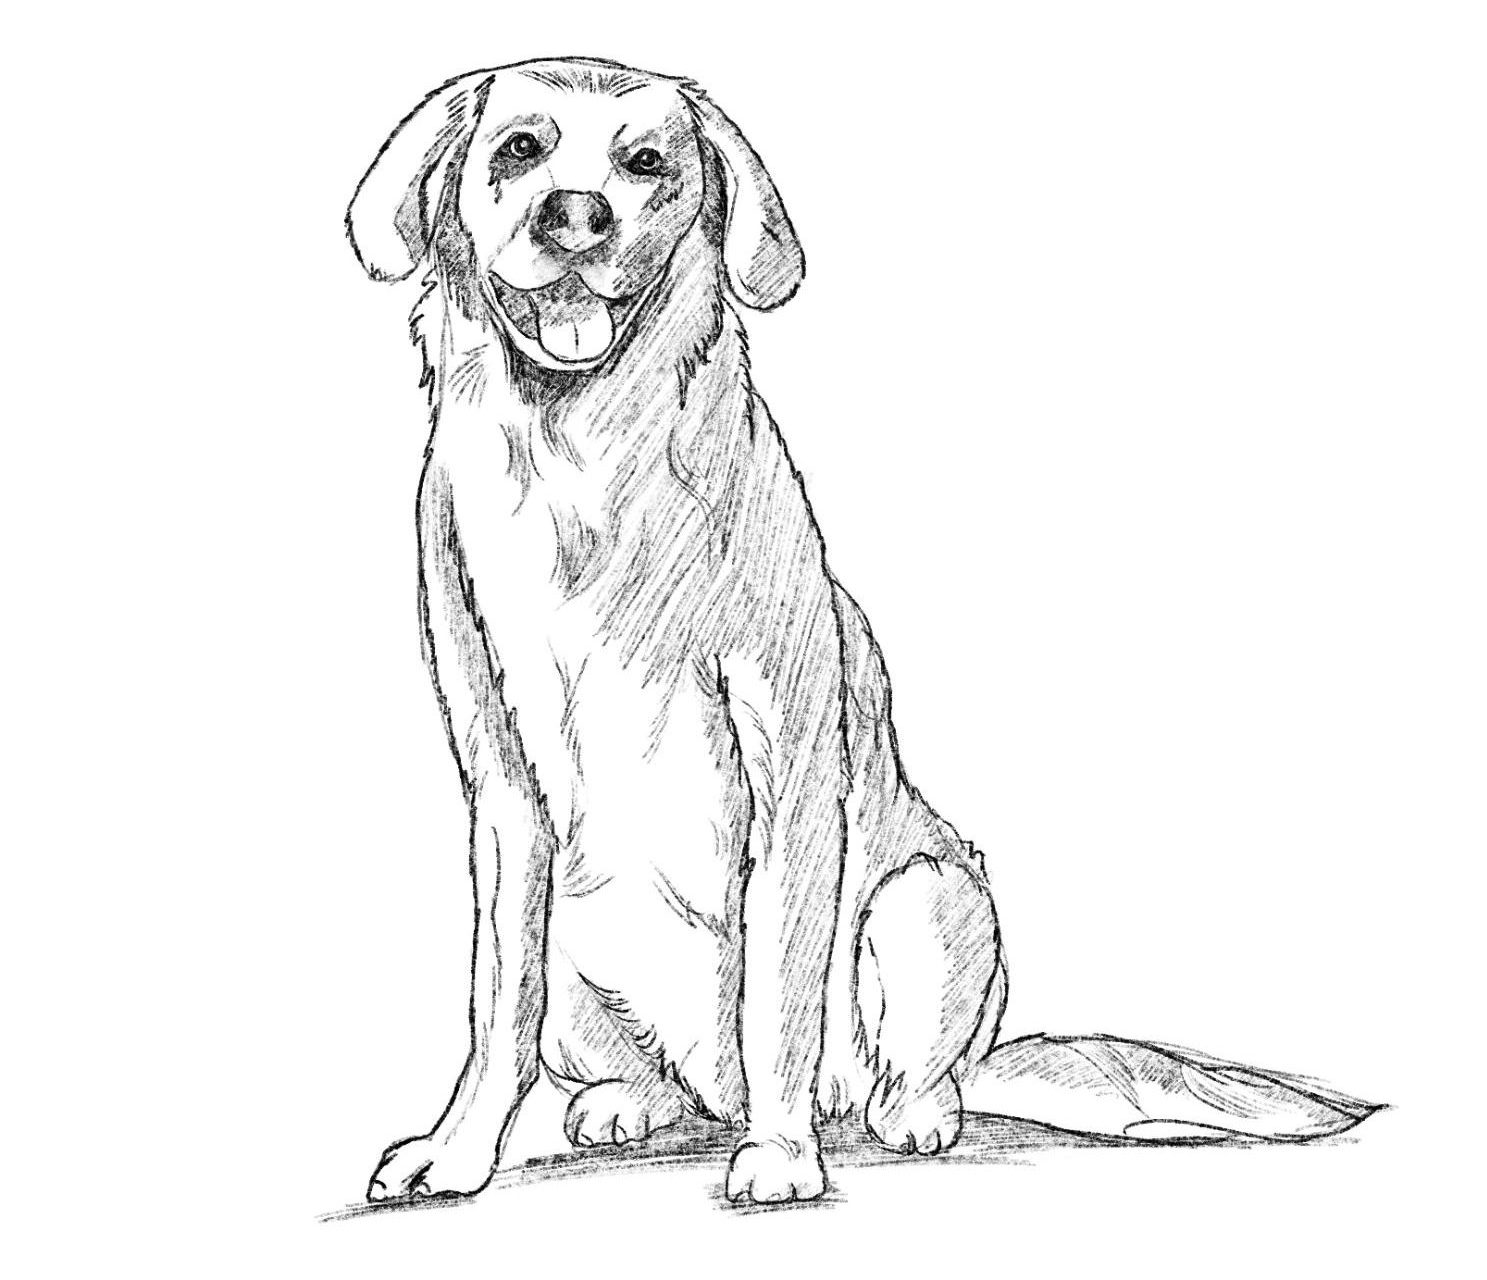
Ever been awestruck by Edwin Landseer’s ‘Dignity and Impudence’ or Gustave Courbet’s ‘The Greyhound of Comte de Choiseul’?
Every great artist was once a beginner, and if you want to create realistic dog drawings, this guide is your first step.
This guide includes two tutorials. In the first tutorial, you will learn how to draw a cute cartoon dog.
In the second part of the guide, we will show you how to draw a realistic Golden Retriever.
Each tutorial breaks down the steps clearly, helping you create your own artwork.
If you want to learn how to draw pets, “Drawing Pets from Scratch” is worth checking out.
Let’s get started and bring your dog drawings to life.
Before drawing a realistic dog, let’s start with something simpler – a cute cartoon dog. This tutorial is easy to follow, making it great for beginners. We’ll use basic shapes to create this cute little dog.
Here are ten easy-to-follow steps to draw a simple dog.
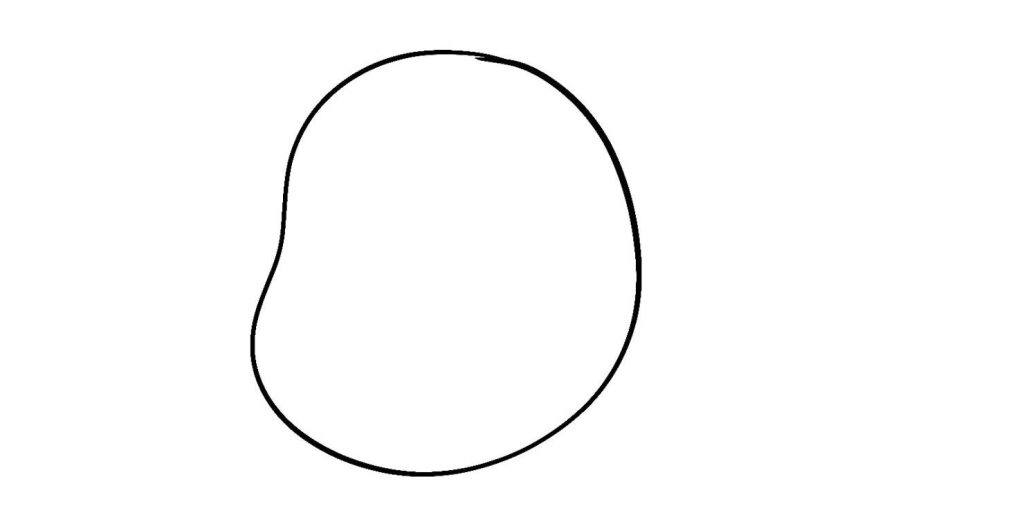
Step 1: Begin with a rounded bean-like shape for the head.
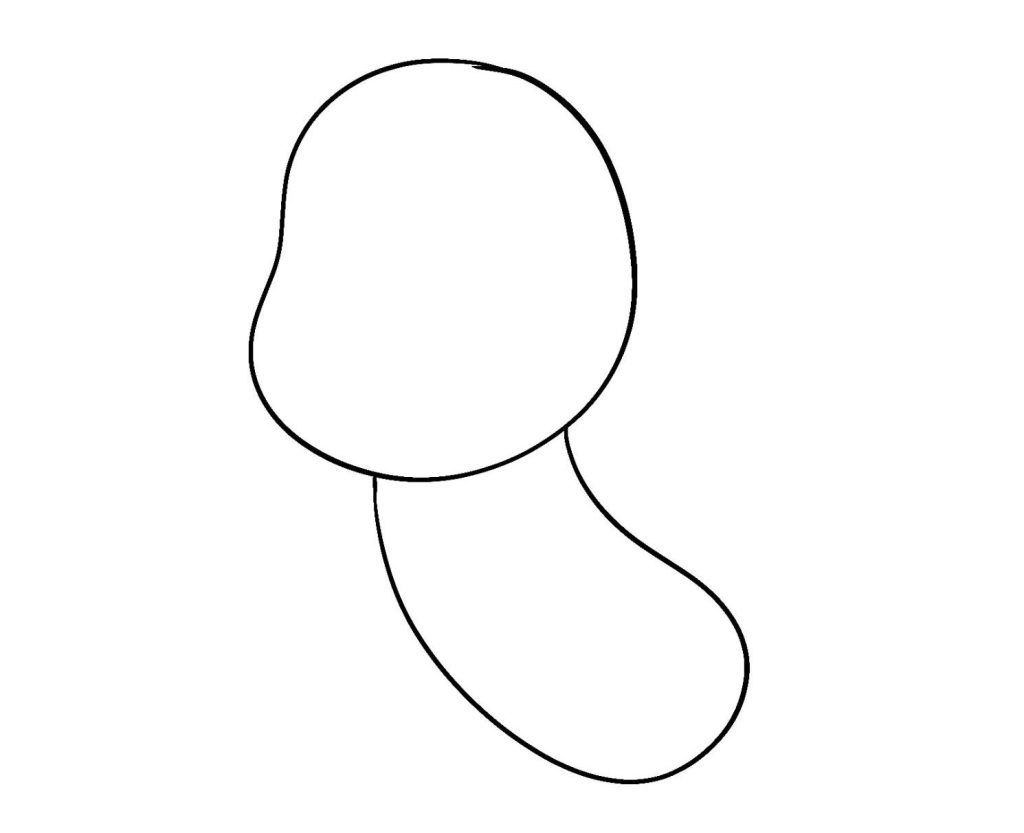
Step 2: Draw a curved line extending from the bottom of the head, forming an eggplant-shaped body.
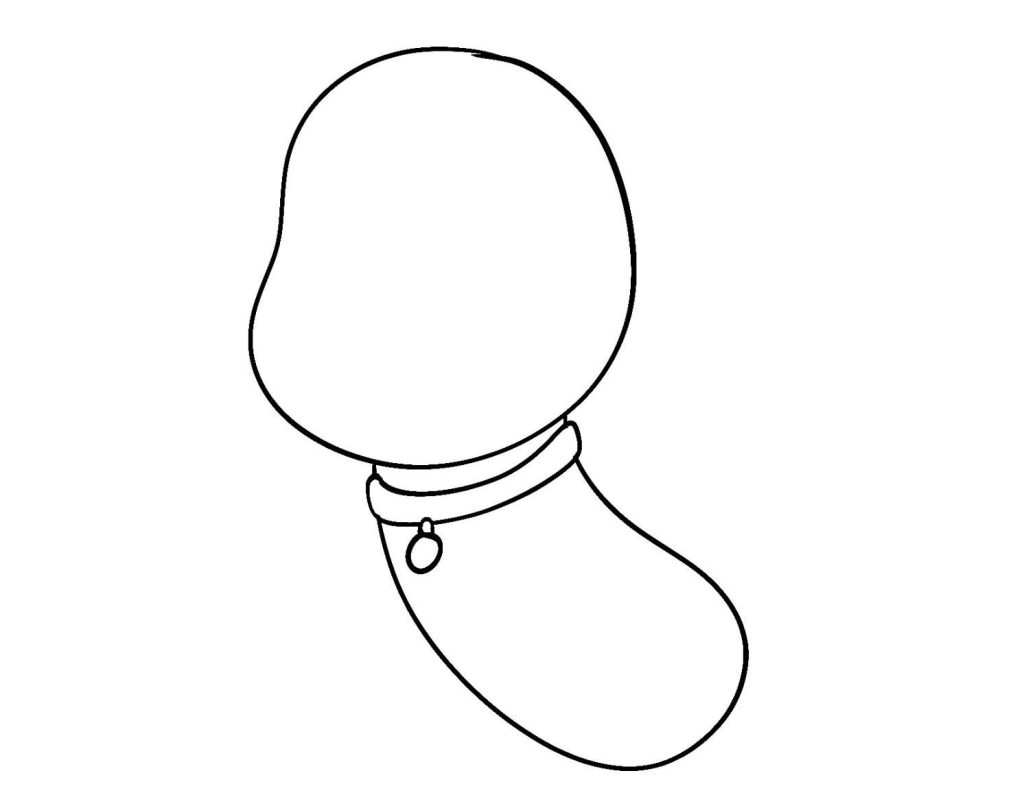
Step 3: Draw a band for the dog’s collar below the head and place a coin-shaped pendant in the center.
Step 4: Now, let’s draw the front legs. For the left leg, draw a curved line starting below the collar and ending level with the bottom of the body. Add a parallel line for the right leg, finishing with three-toed paws.
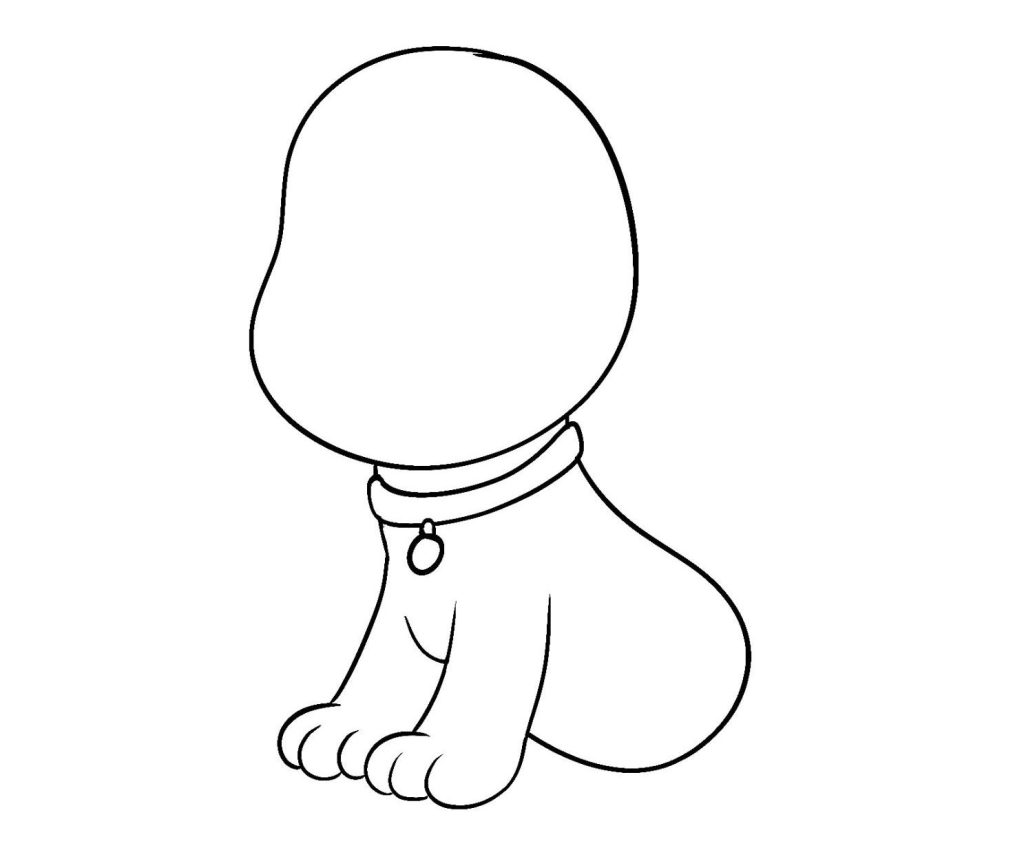
Step 5: On the right of the right front paw, sketch a curved line for the back leg, adding a paw at its end.
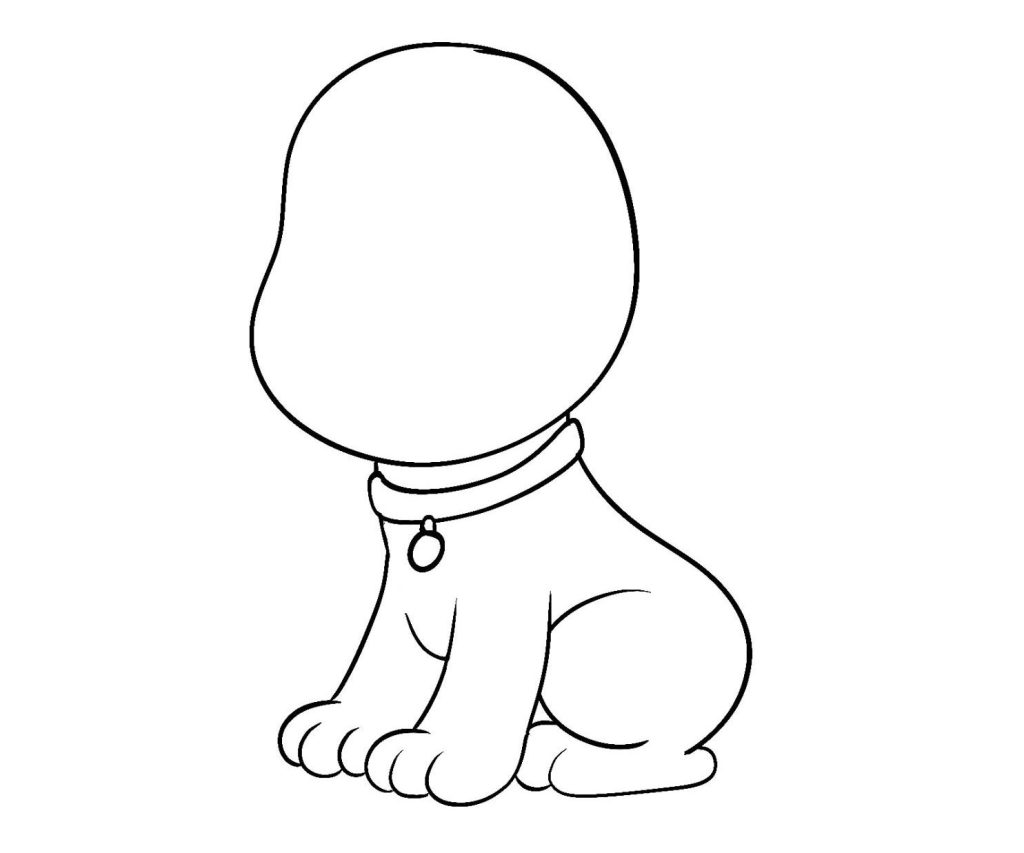
Step 6: Add a playful, wiggly tail extending from the bottom of the body.
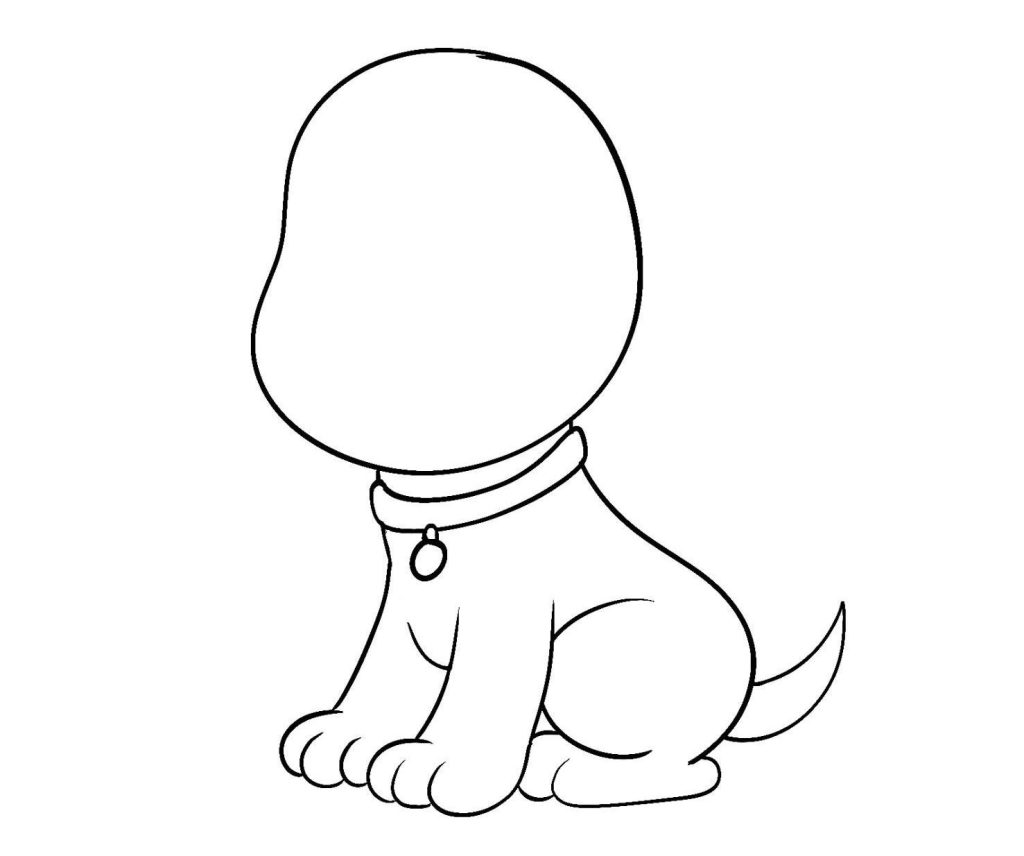
Step 7: For the ears, draw two curved lines extending from the top of the head, one on each side, making sure they droop to give a floppy appearance.
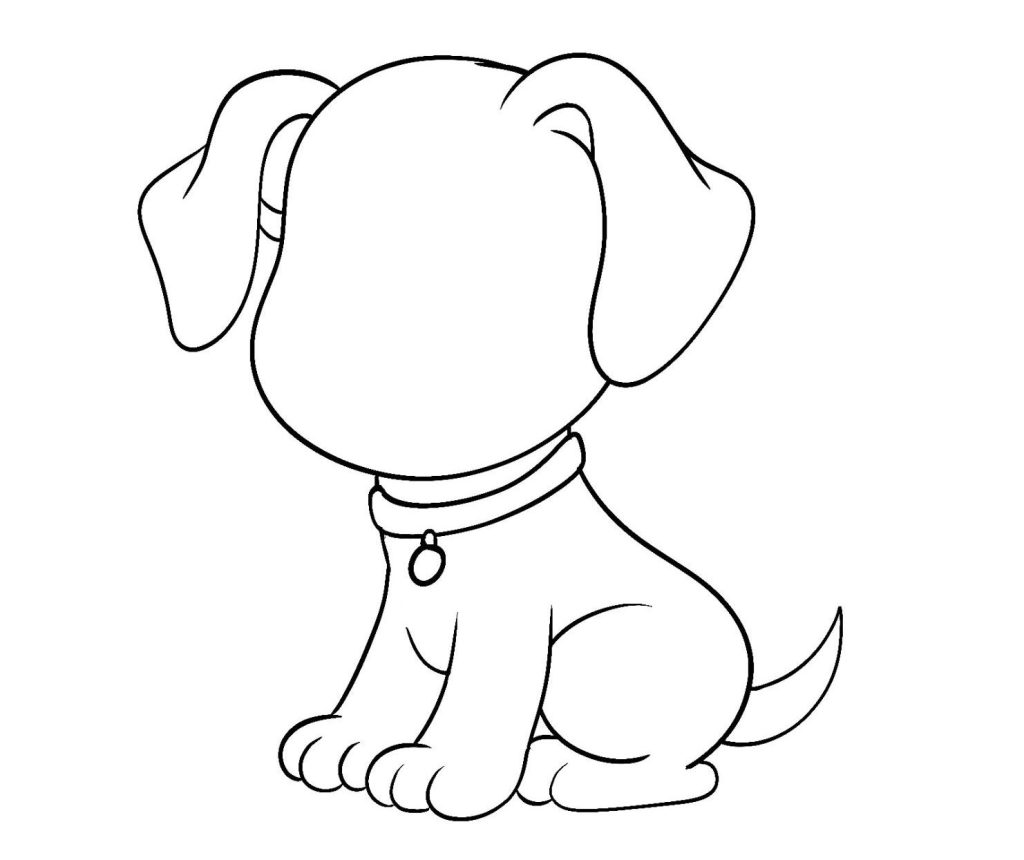
Step 8: For the face, start with a small triangular nose in the center. Just below the nose, sketch a gentle curve for the mouth. Place two dark oval eyes above the nose, ensuring they’re spaced apart. Add curved eyebrows above each eye for expression.
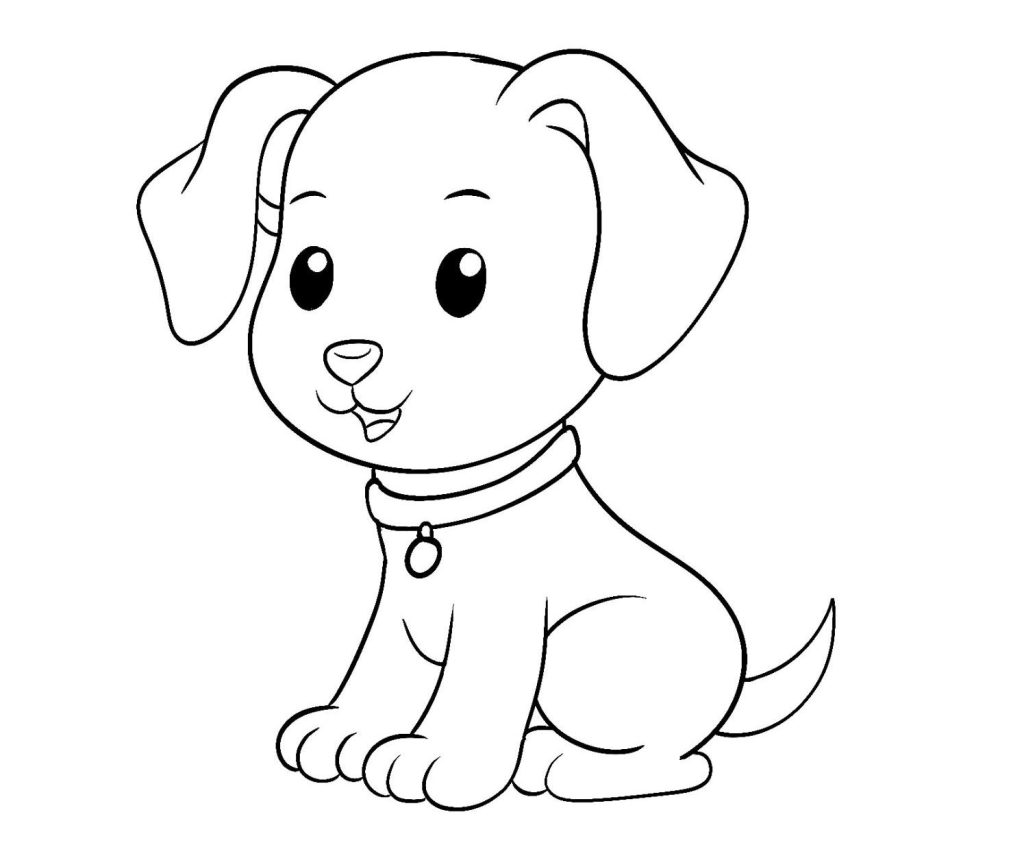
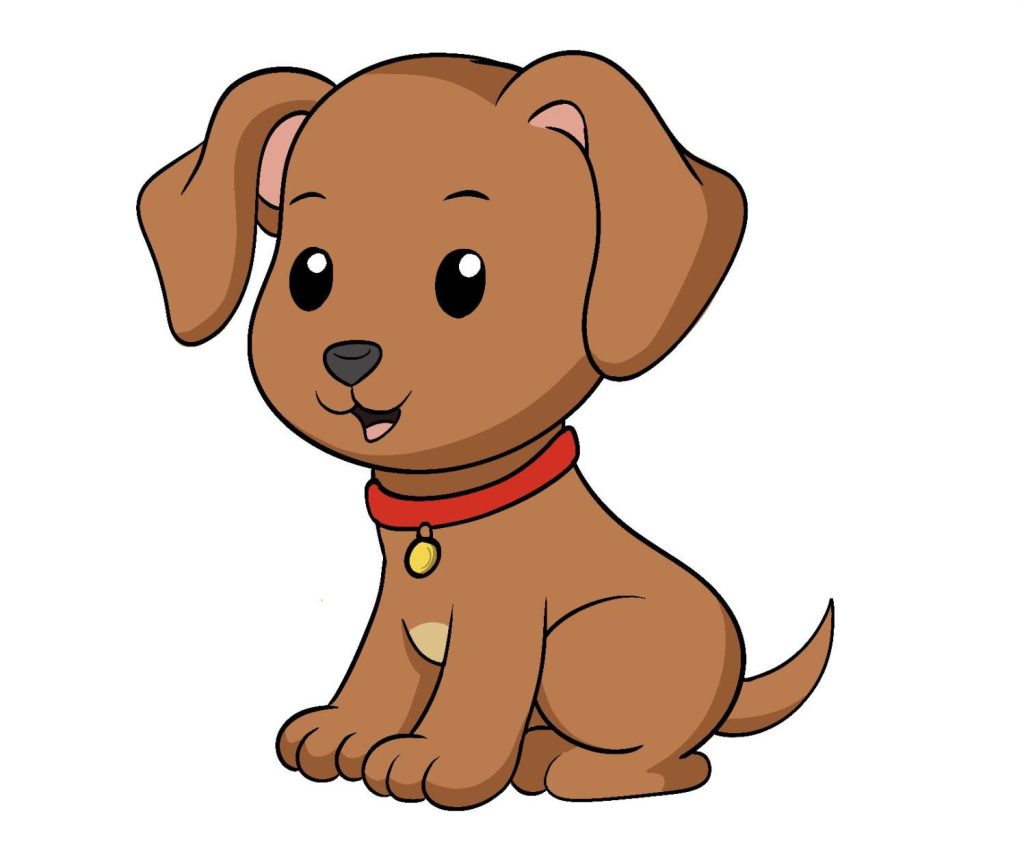
Step 9: Begin coloring by giving the dog a warm brown shade. The collar should be a vibrant red, and the pendant in the center should be a bright yellow.
The exposed part of the stomach below the collar should be a soft peach, and the inner sections of the ears should be light pink.
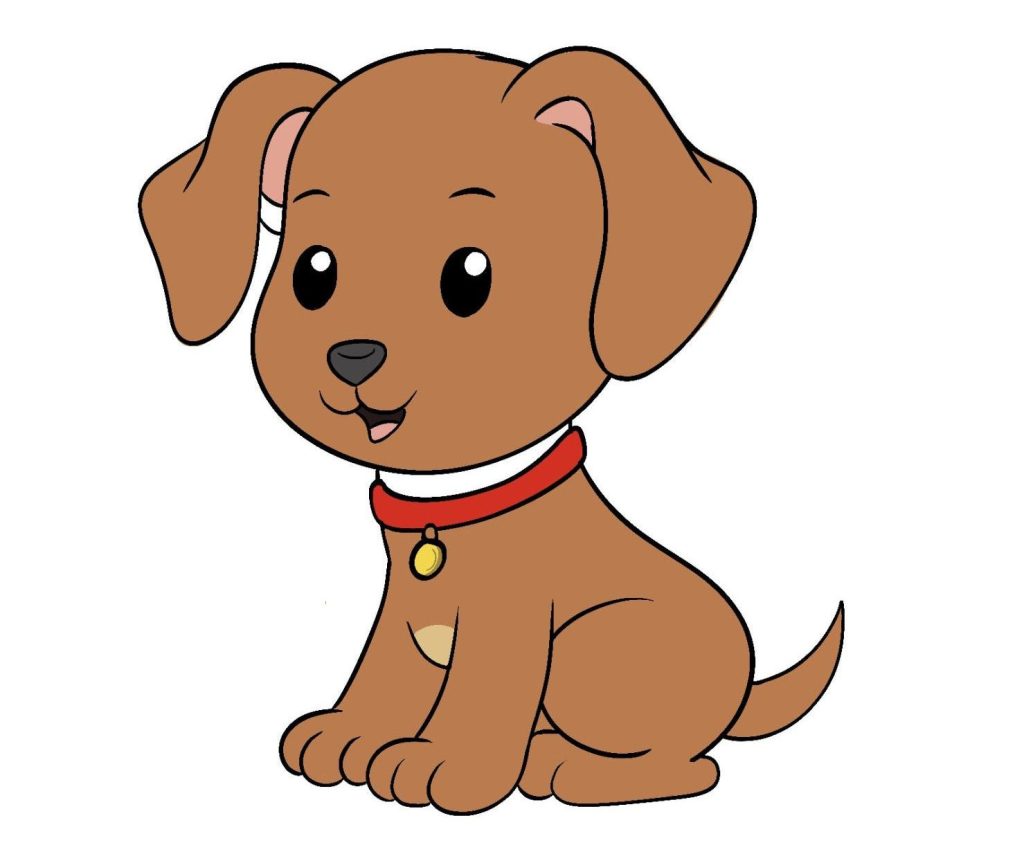
Step 10: To bring depth and dimension to your cute puppy, carefully add shadows.
If you are a beginner at drawing, then our courses, “Learn to Draw in 21 Days” and “Digital Drawing in Procreate for Beginners,” are an excellent place to start.
Now that you’ve tried drawing a cartoon dog, let’s draw a realistic dog. This section will focus on capturing the nuances that make our drawing life-like.
Before diving into the intricate details of your canine muse, let’s warm up with some quick sketches.
These preliminary sketches aren’t about perfection; they’re about capturing the essence and movement of your subject.
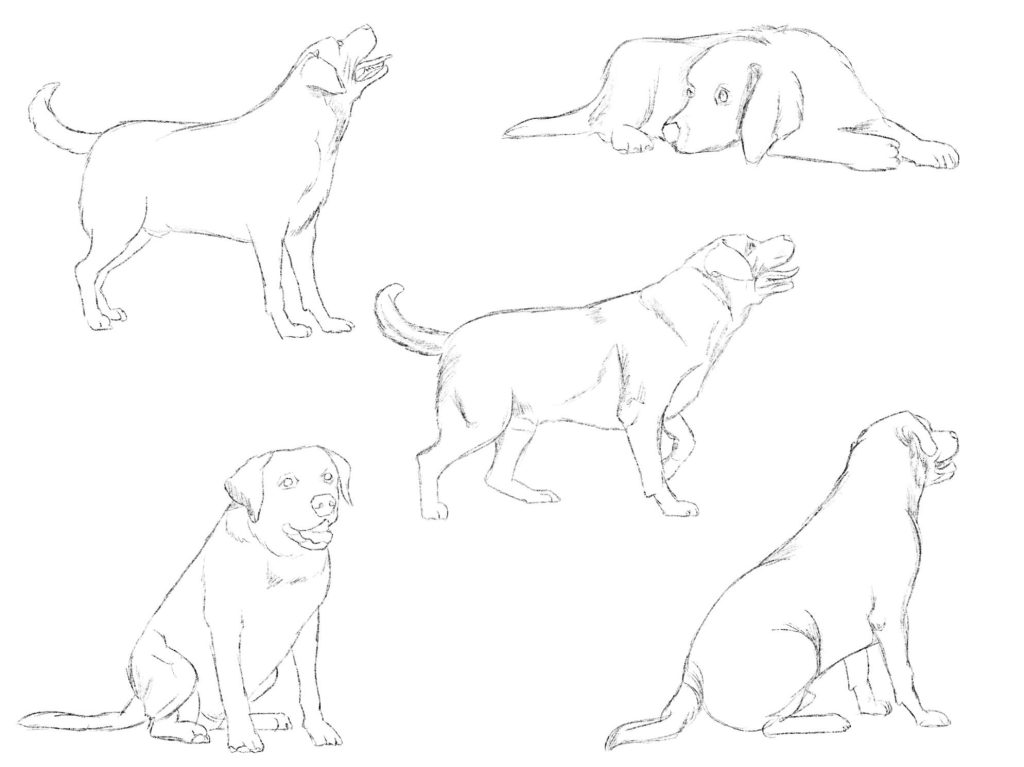
Many artists, especially beginners, might be tempted to skip this phase, eager to get to the details. However, you observe and understand a dog’s anatomy and unique quirks in these initial sketches.
Whether it’s the playful tilt of their head or the way they sit, these sketches help anchor your final drawing. So, grab your sketchbook, observe your furry friend or a reference photo, and let your hand freely capture their spirit.
Don’t stress over the quality of these initial sketches; they’re meant to be quick and not perfect.
Remember, practice is key to improving your skills.
When drawing a dog, it’s essential to start with understanding its form. Think of it as the framework that holds everything together.
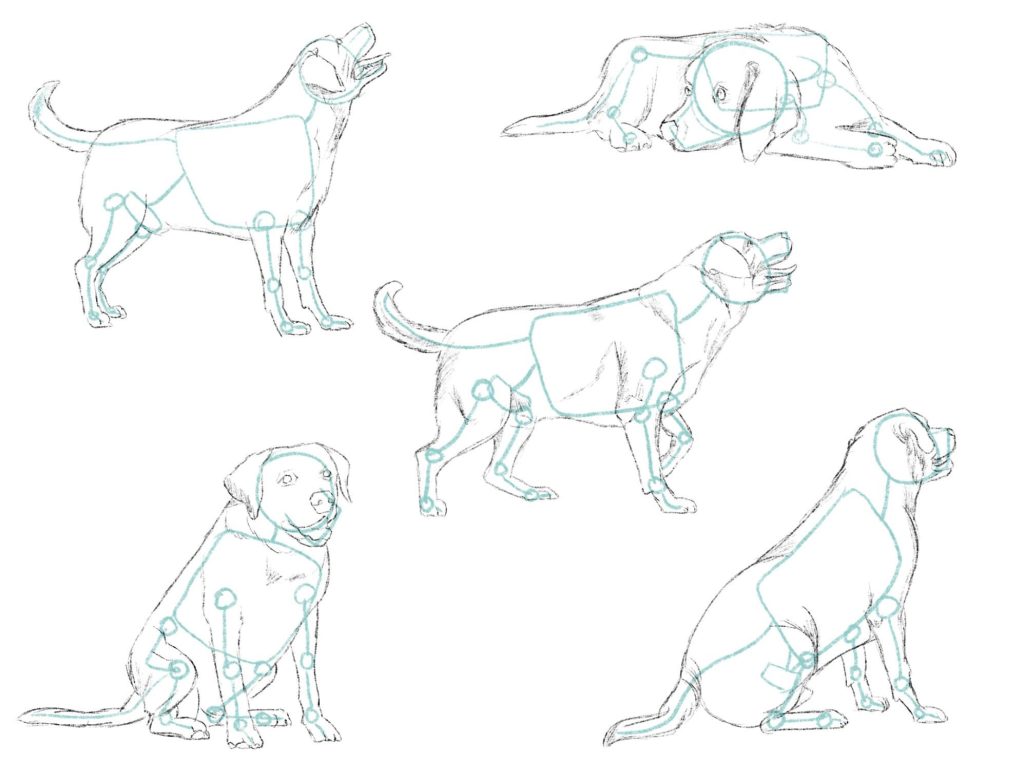
By understanding the placement and connection of bones, you can ensure your sketches have the right proportions and posture. Begin by overlaying a skeletal structure onto your initial sketches.
This technique helps you visualize how bones lie and how they influence the dog’s shape.
Over time, as you become more familiar with the structure, you’ll find it easier to draw dogs in various poses.
But for beginners, this foundational knowledge is key to creating lifelike sketches.
Now that you’ve familiarized yourself with how a dog’s form varies in different poses, it’s time to choose one to draw. In this tutorial, we will draw a sitting golden retriever.
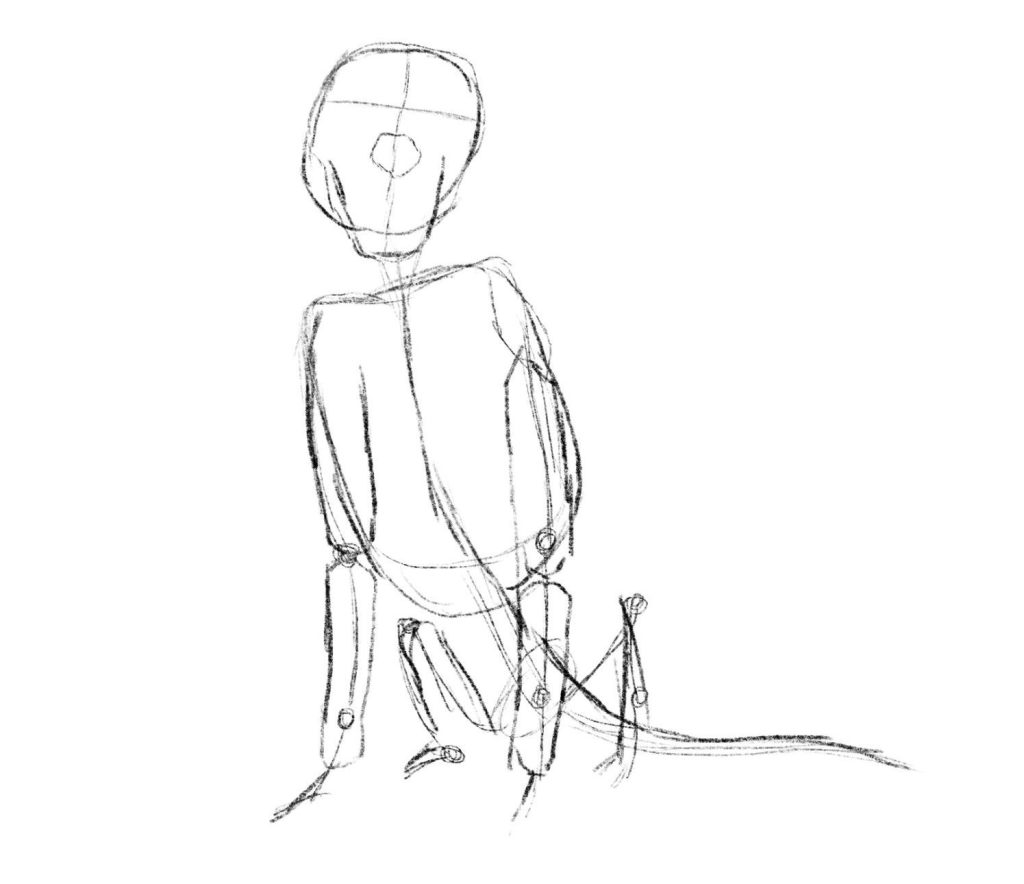
Start by loosely sketching the outline.
Begin by drawing a squished circle, for the head as shown in the image above.
Combine it with a cup shape for the muzzle. Then, sketch a square-like shape with rounded edges to indicate the ribcage, as illustrated in the image above.
Use single lines to represent the spine and tail. Remember, some body parts will overlap when drawing a sitting dog, so getting the basic shapes right is essential.
Sketch the front and back legs, ensuring you mark the joints accurately. This foundational sketch ensures all body parts align correctly.
If you’re using traditional media, keep your pencil strokes light for easier erasing later. For those working digitally, say on Procreate or Photoshop, use layers, drawing each step on a separate one to give you more flexibility as you refine your drawing.
Once the basic structure is in place, it’s time to refine our Golden Retriever drawing. Begin by highlighting key areas like the shoulders, thighs, and neck. Consider how these parts would look beneath the fur.
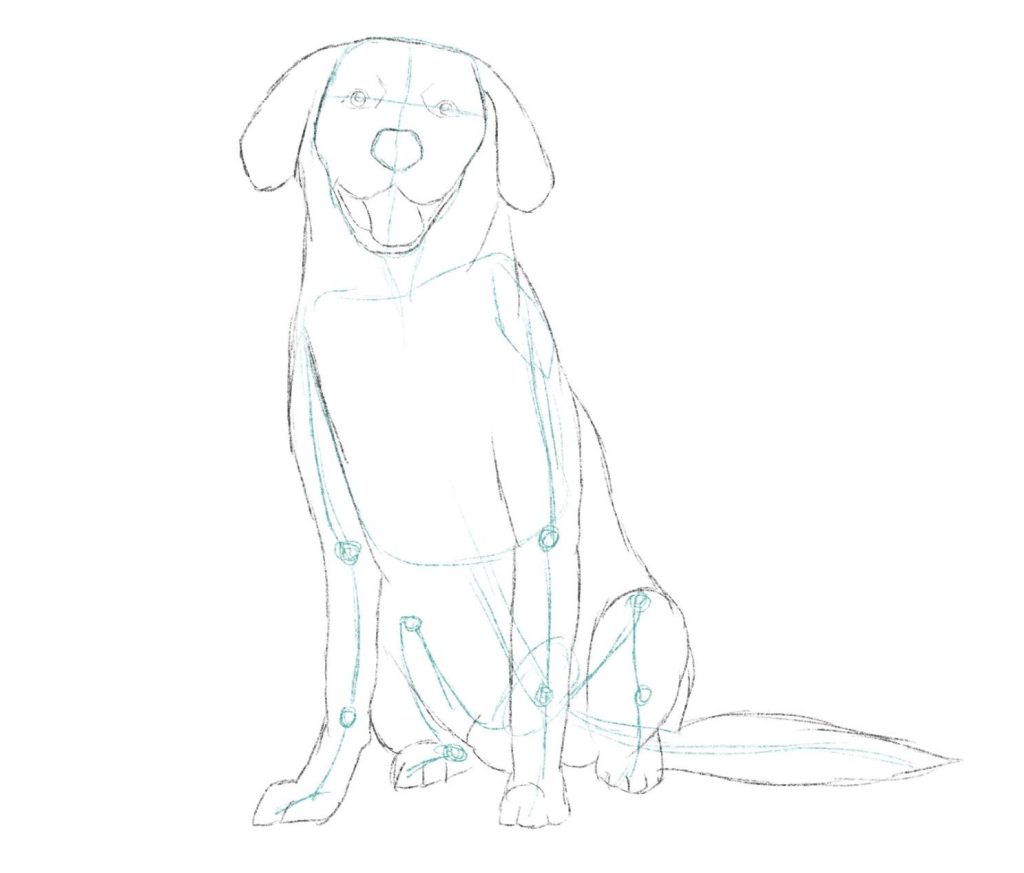
These body parts are more pronounced in breeds with less fur, like the Dalmatian.
However, with our fluffy friend, the aim is to hint and suggest the underlying form subtly.
The goal isn’t to capture every tiny detail but to understand how these body parts contribute to the overall shape of the dog.
With these elements outlined, your drawing will appear more lifelike and dynamic.
After drawing the body, it’s time to focus on the dog’s head. Let’s begin with the eyes. Position them accurately, ensuring they’re aligned and spaced correctly.
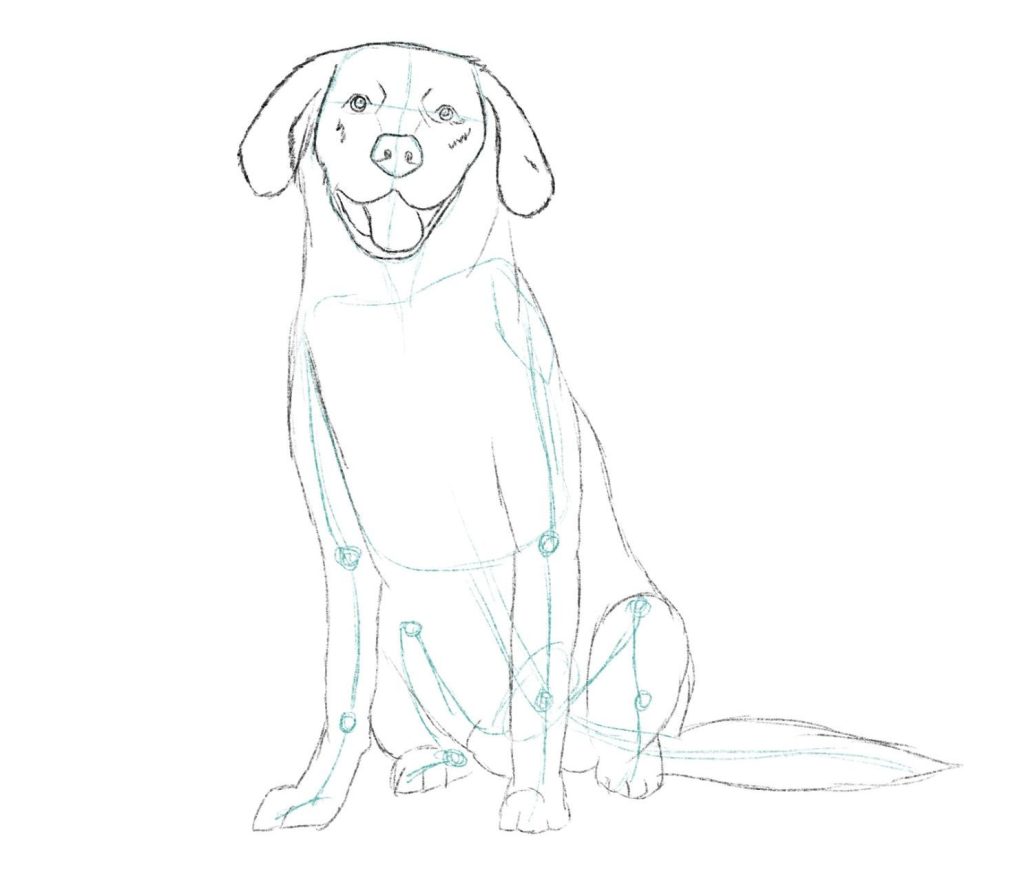
Next, tackle the muzzle.
The muzzle varies by breed, and Its length can make or break the likeness.
For our golden retriever, a medium-length muzzle is key. Shade around this area to emphasize depth and structure.
Before drawing the nose, observe its shape and size and ensure it sits proportionally on the muzzle. If portraying an open mouth, illustrate the teeth, gums, and the notably long, flexible tongue, especially prominent in a front view.
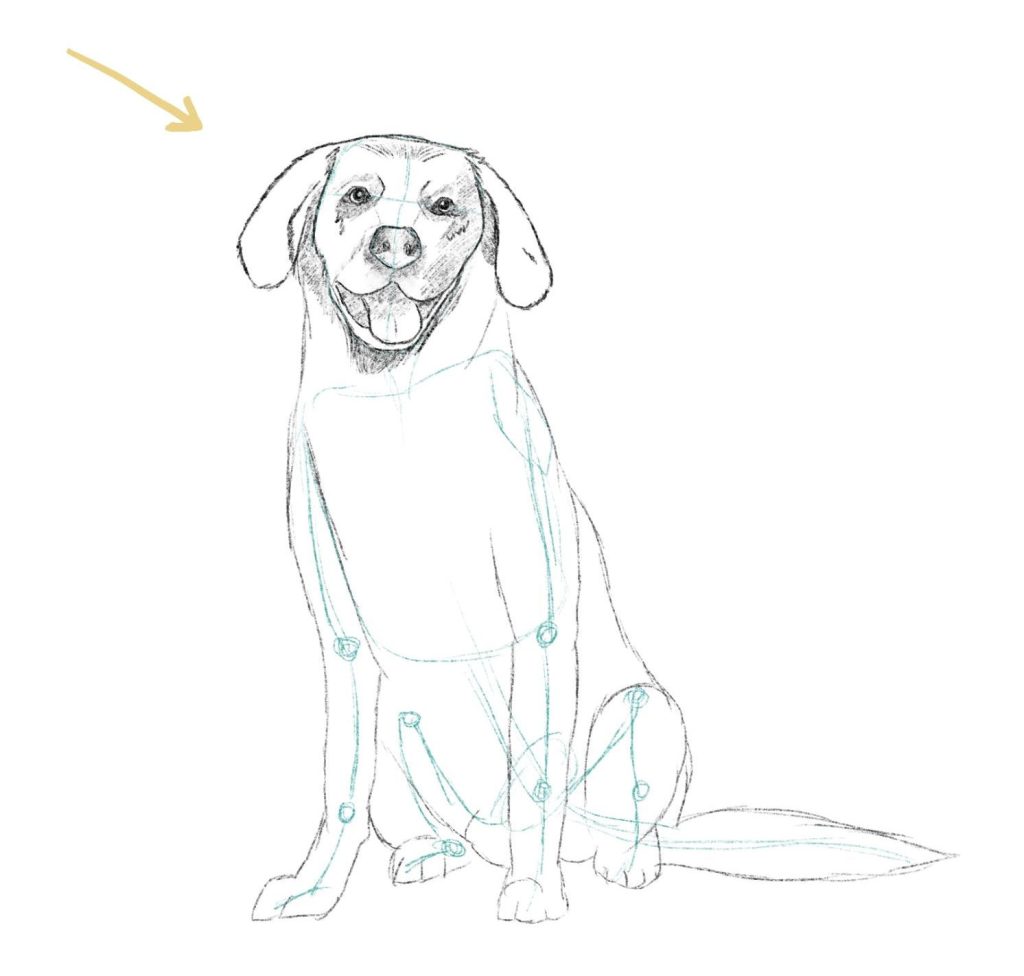
Lastly, we will refine the ears and add the whiskers. If you are drawing a different breed, adjust for breed-specific shapes.
With the features set, we will layer in the fur, adding texture and depth, turning our sketch into a lifelike Golden Retriever portrait.
Let’s move to the body. The Golden Retriever’s distinct feature is its flowing fur. To capture this, and observe the direction and pattern of the fur.
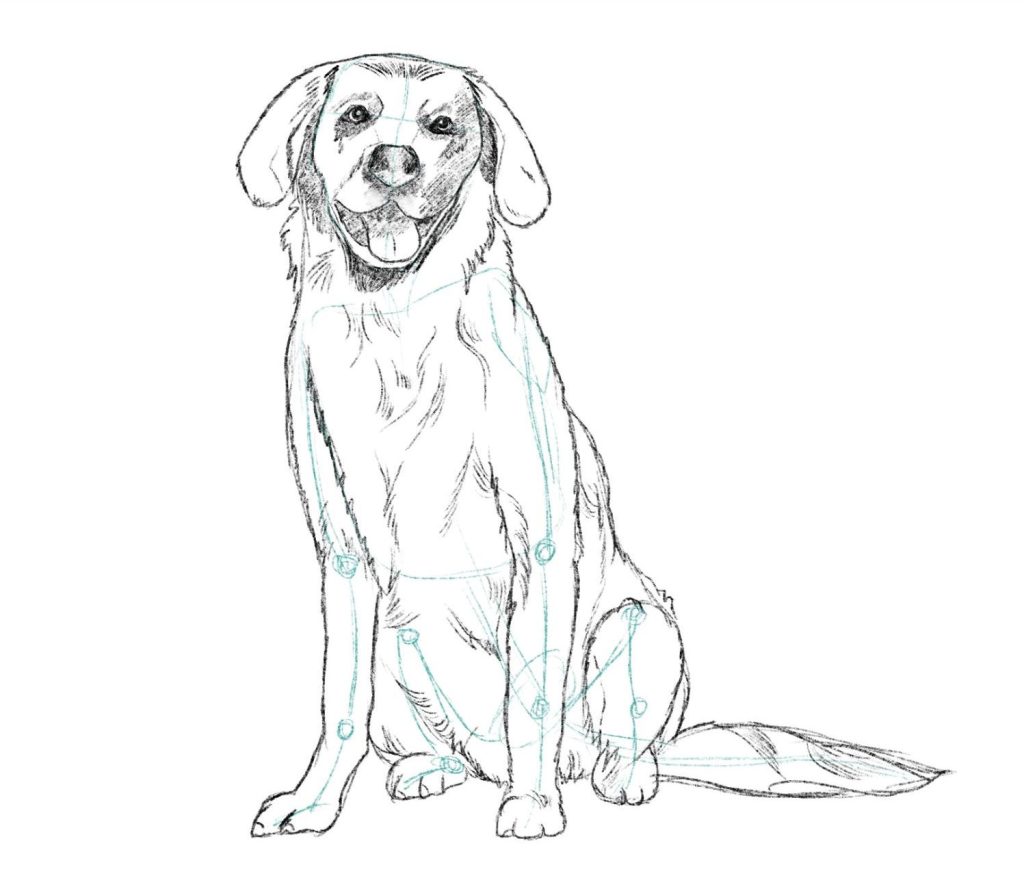
Typically, it’s longer and denser around the dog’s neck, tail, and underbelly. We will use consistent strokes to illustrate this, adjusting for the fur’s natural wave and thickness. It’s essential to vary the strokes, especially in areas where the fur is ruffled or stands up.
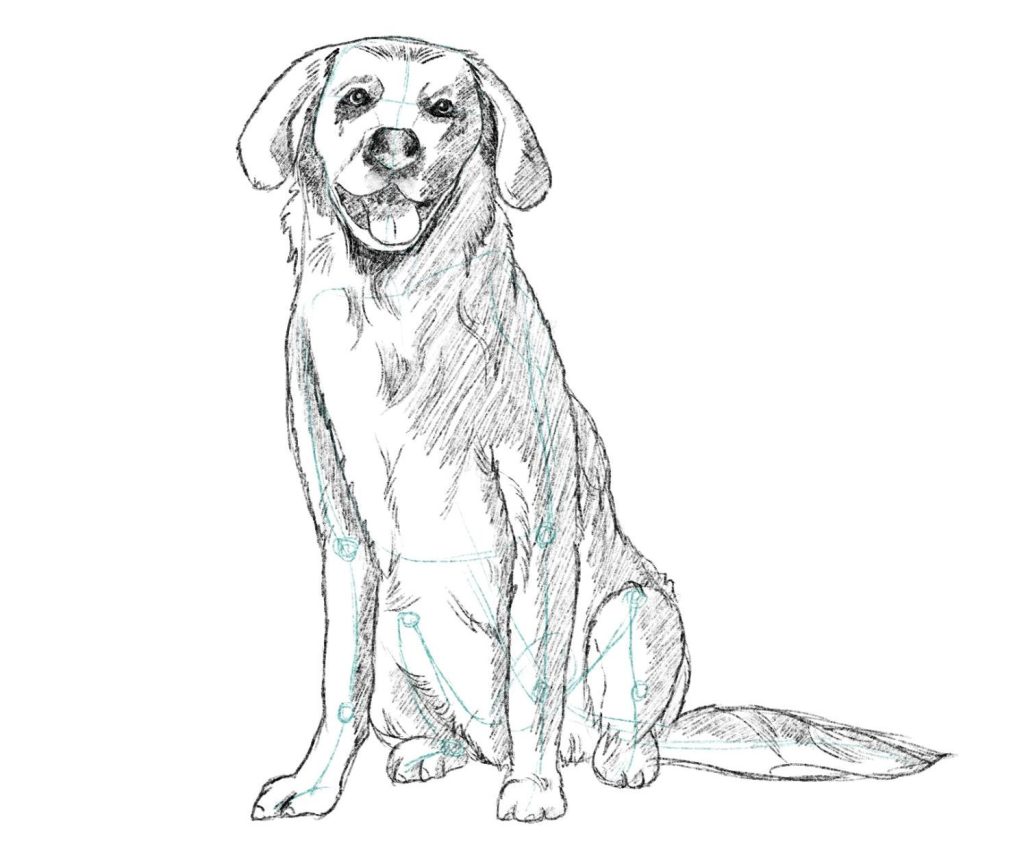
Ensure the fur’s flow complements the underlying anatomy, subtly hinting at the dog’s muscle and bone structure.
By paying attention to these details and maintaining a steady hand, our golden retriever will take shape, showcasing its characteristic thick coat and graceful form.
As our golden retriever takes shape, it’s time to infuse life by adding depth. Begin by identifying the light source. This decision will guide your shading and highlighting, adding a three-dimensional feel to your drawing.
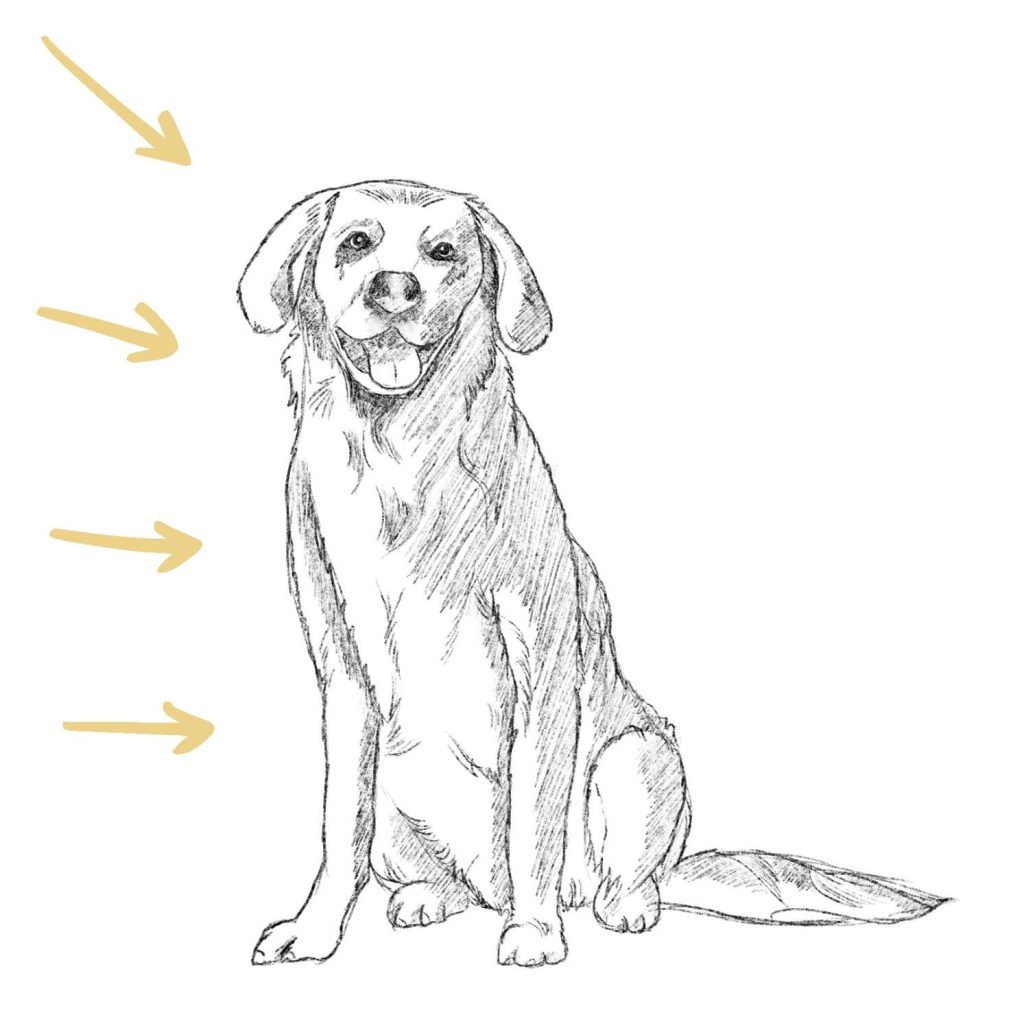
Shadows naturally form under droopy ears, beneath the face, and where the fur bunches up.
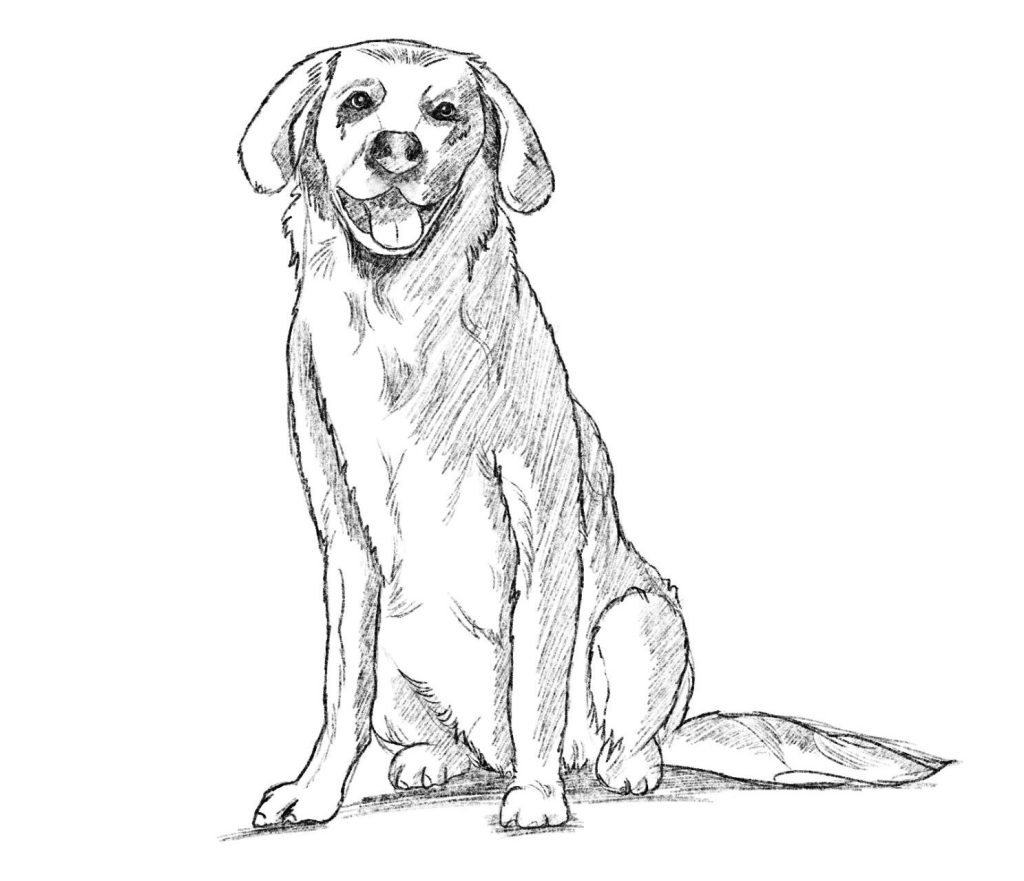
Conversely, areas hit by light, like the top of the head or along the back, will need subtle highlights.
These contrasts provide depth and emphasize the texture and volume of the retriever’s luscious coat. With these finishing touches, your drawing transitions from a mere sketch to a lifelike portrayal, capturing the essence and vibrancy of this beloved breed.
We hope our step-by-step drawing tutorials have been a valuable resource for beginner artists eager to enhance their skills.
Whether you’re interested in the finer points of sketching a realistic dog or capturing the playful spirit of a cute cartoon dog, our guide aims for clarity and simplicity.
By practicing and applying these techniques, you’ll discover the joy of bringing realistic and cartoonish dog characters to life on paper.
If you’re a beginner looking to improve your drawing skills, our courses ”Fundamentals of Drawing” and ”Learn to Draw in 21 Days” provide essential techniques to elevate your art.
Interested in digital art?
Our courses ”Digital Illustration for Beginners” and ”Digital Drawing in Procreate for Beginners” are tailored for you. We also offer a variety of other tutorials to support your artistic growth. Browse our course list, choose one that catches your eye, and start practicing to enhance your skills.
Gracias por facilitar para la realización de este tipo de trabajo y despertar ideas al rededor de esto. Felicidades
Reply